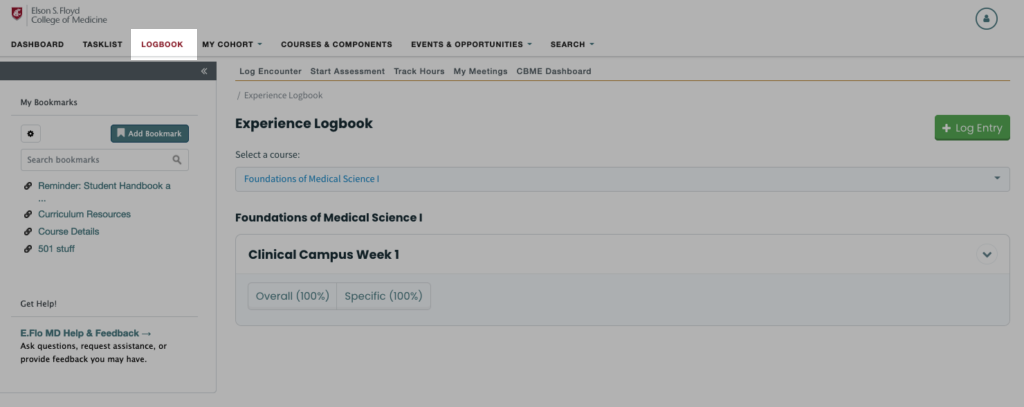
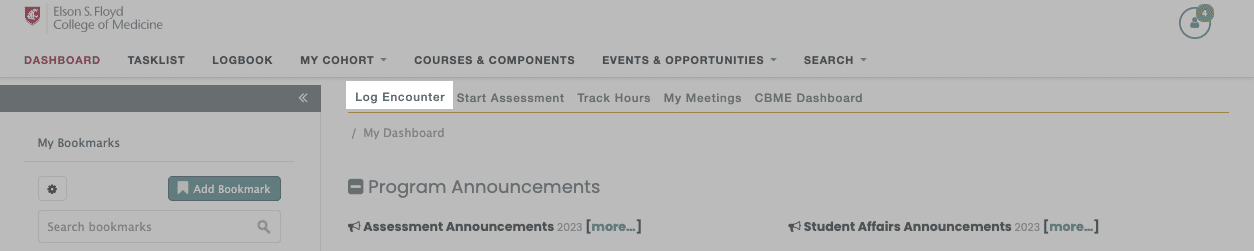
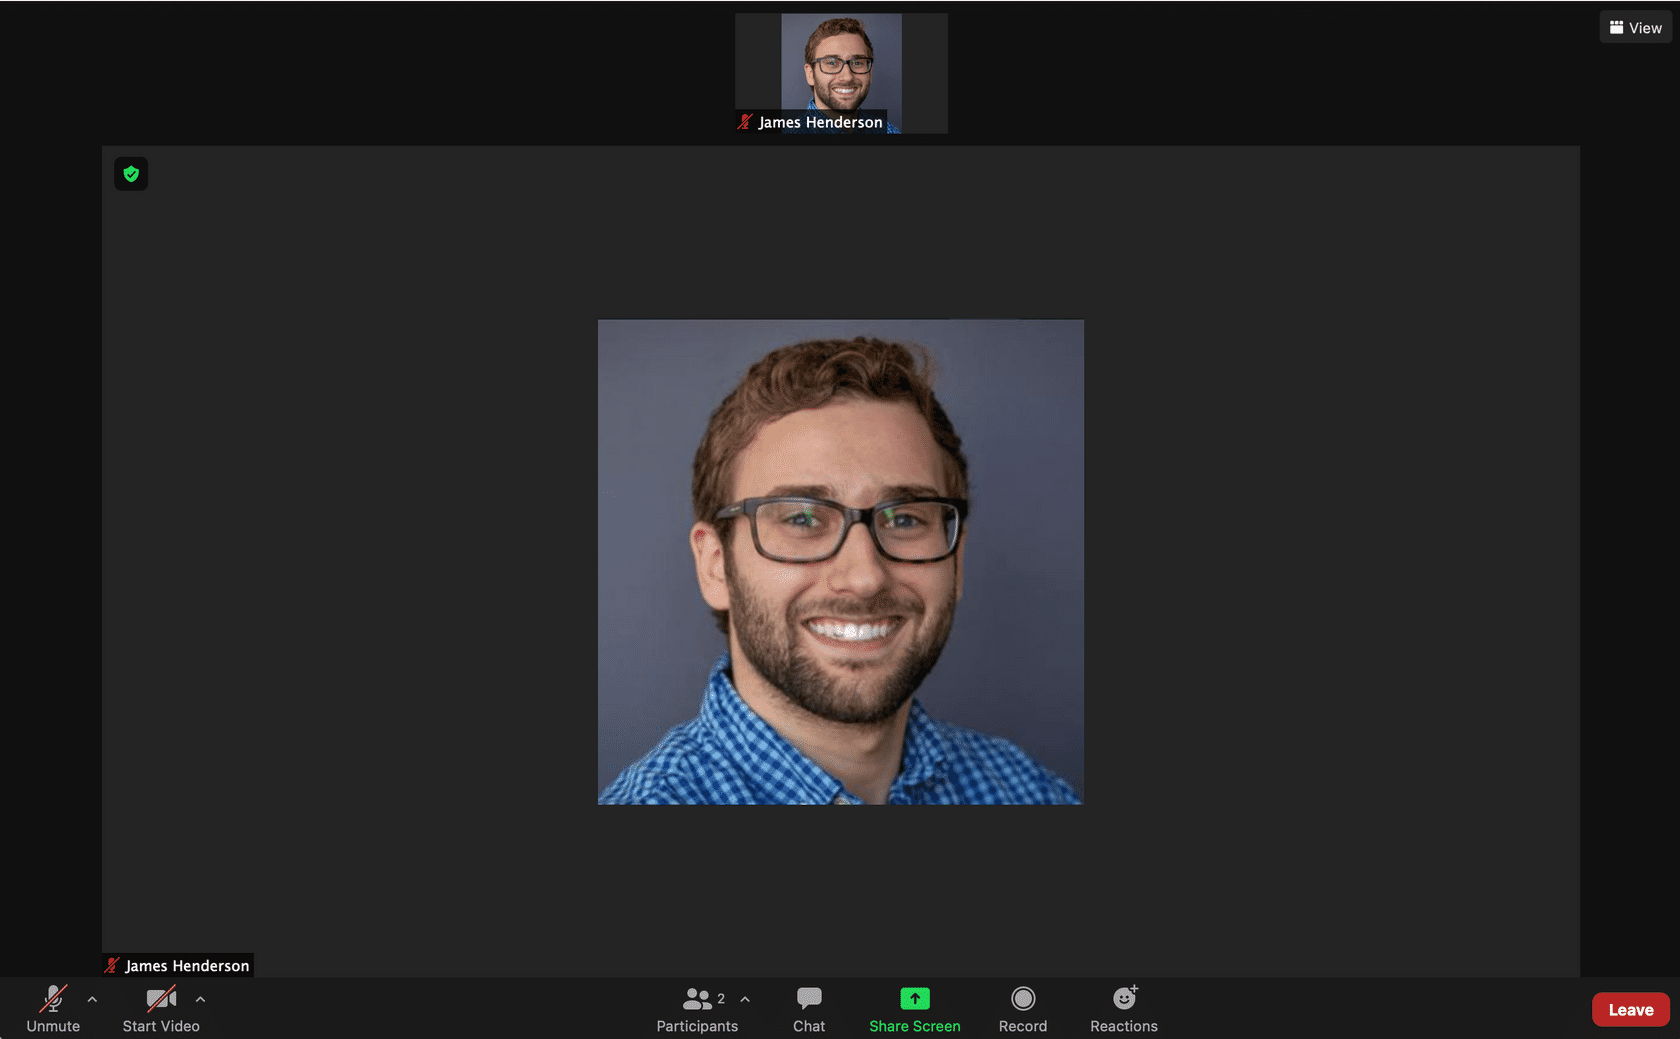
Meeting Information
Send an invite to an individual by:
- copying the meeting URL or the full meeting invitation, or
- sending directly via email. This is great for when you forget to loop someone in and need to have someone join last minute.
Video
Clicking this will start sending a video feed from your computer to all participants. The video feed will come from the default camera of the device. If your computer does not have a built-in webcam, you will need to connect one before you have access to video conferencing.
Video Layout
Changing the video layout will affect how the other participants' videos are displayed on your video panel.
Displayed Participant Information
This is where meeting participants' video or screen name will populate, allowing you to view whoever is actively speaking.
Number of Participants
Clicking this tab will bring up a list of all the participants in a meeting and allow you to see who is talking at any given moment.
Chat
You can send messages within the meeting if you want to avoid talking over the main speaker. Great for structured Q & A!
Share
This tab will allow you to send content to individuals from inside the meeting itself. You can share screens like your desktop, any files you are working on, or a Powerpoint that you may have loaded up.
We advise practicing this a couple of times before your meeting starts!
Record
This will allow you to start a recording within the meeting. This can also be set up prior to the meeting as a default or as a function of the Zoom Outlook function when the meeting is created.
Reactions
You have access to a list of non-verbal feedback and emoji reactions that show up for other participants in the video panel.
Community Engagement Entries
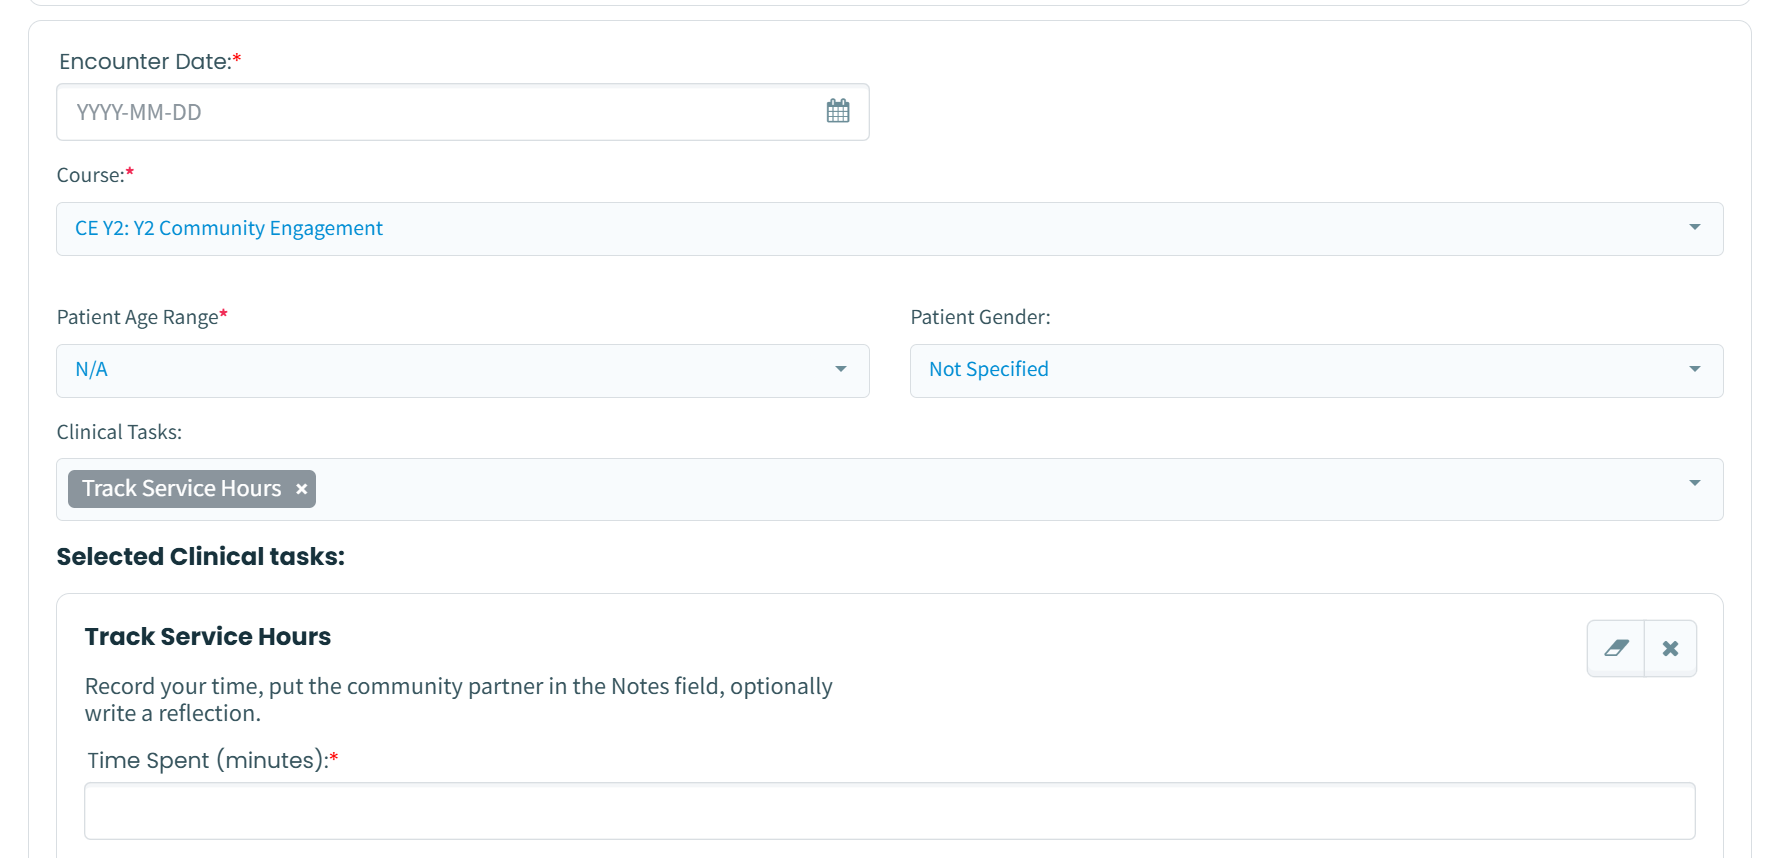
Encounter Date
Add the date of your patient encounter.
Course
Select Community Engagement for your year. You may need to scroll down to find the right one.
Patient Age Range
Add the patient's age, but do not include their birthdate.
Clinical Tasks
Choose Track Service Hours.
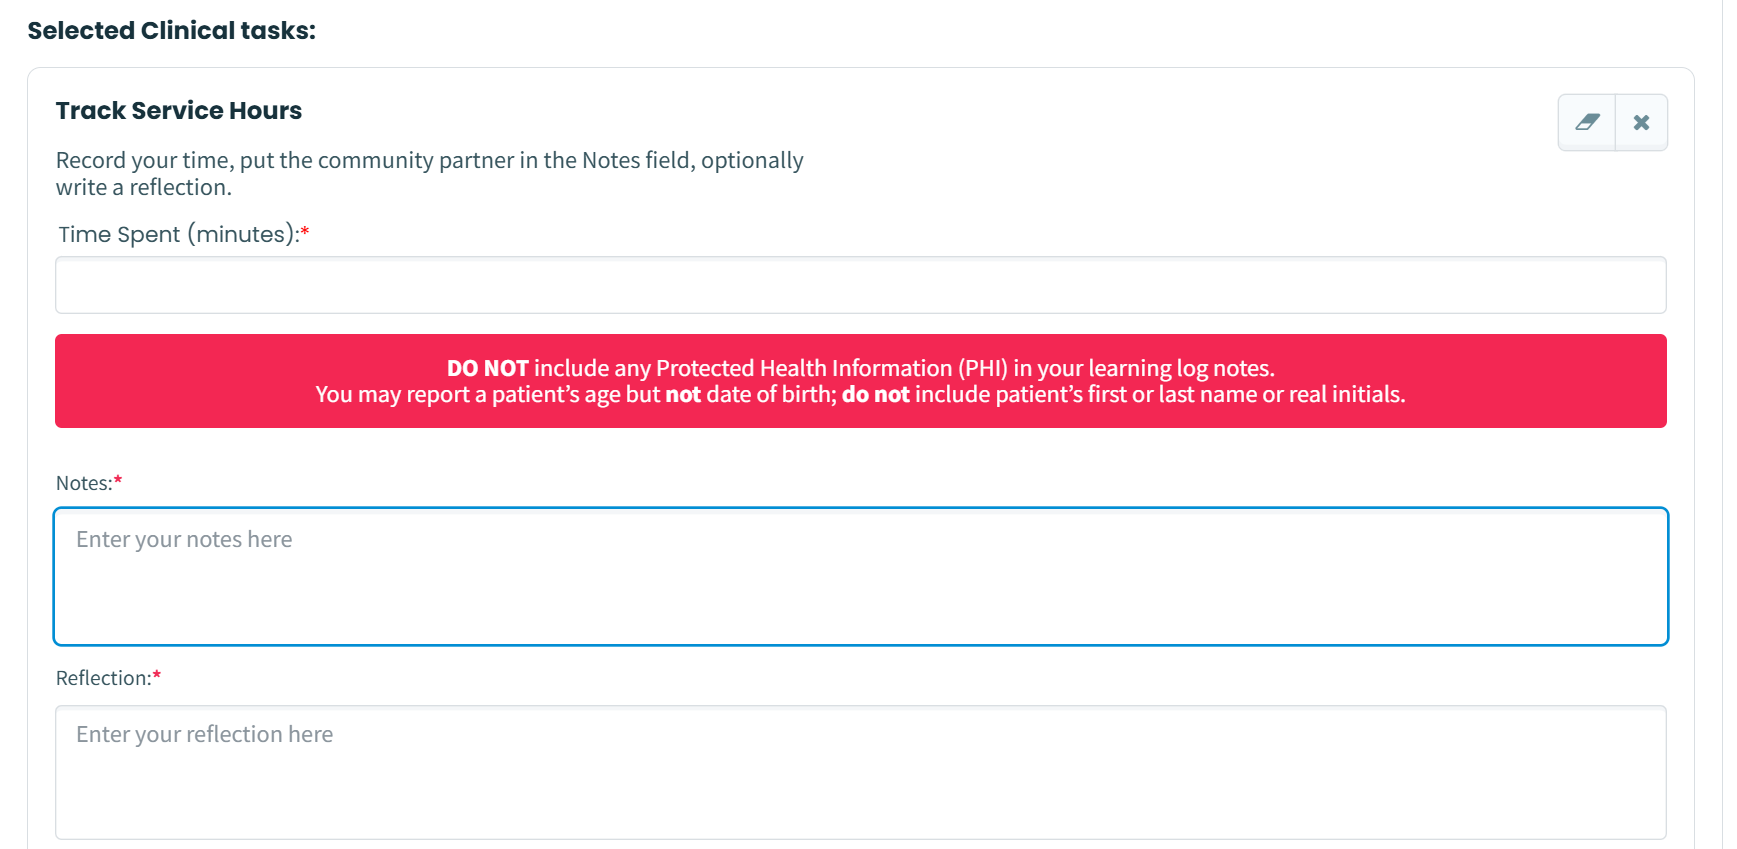
Track Service Hours
Enter the time spent at your encounter in minutes.
Notes
In the Notes field, please provide a one sentence summary of the patient (opening statement). Example?
Reflection
In the Reflection field, list what you hope to learn this week and your goals for the encounter. Example?

Clinical Campus Week (CCW) Entries
Encounter Date
Add the date of your patient encounter.
Course
Select Community Engagement for your year. You may need to scroll down to find the right one.
Patient Age Range
Add the patient's age, but do not include their birthdate.
Clinical Tasks
Choose Track Service Hours, Notes, and Reflections
Track Service Hours
Enter the time spent at your encounter in minutes.
Notes
Please provide the place where you spent your CCW (Community Partner) and a one-sentence summary of the patient.
Reflection
Enter your experience and what you did during your CCW.