NEJM Healer

Our Technology NEJM Healer

Table of Contents

10-min read

NEJM Healer is an online application that helps medical educators teach and assess students’ clinical reasoning skills. It provides learners a rich opportunity for deliberate practice with a diverse set of cases and detailed, expert feedback.

Why You Might Like It

  • Allows you to work through clinical cases representing all ages, conditions, and locations of care.
  • Can be used across pre-clerkship and clerkship, as well as for targeted skill development.
  • Forces learners to pause and commit to a response before moving forward in each case.
  • Provides learners with immediate formative and summative feedback.

Access NEJM Healer

Students access NEJM Healer through the Learner Dashboard and will receive an email with information to set up their account. If you have not received this information or have trouble accessing your account, contact MedTech.

Faculty and staff access NEJM Healer through the Educator Portal. If you are a faculty or staff member interested in using NEJM Healer, you can contact MedTech for specific instructions on signing up. 

It’s highly recommended to use NEJM Healer in full-screen mode for the best experience and to avoid issues with content being cut off or missing. Every internet browser has the full-screen button in a slightly different location, but generally you can do this by:

  • Windows: Press F11.
  • Mac: Press Command+Ctrl+F.

The same button combo will exit full screen.

Case Library

NEJM-healer-case-library

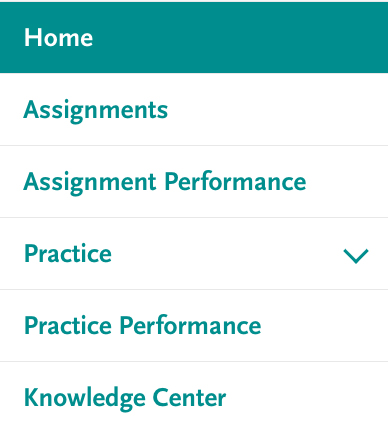
Students access cases through the Assignments and Practice section of the Learner Dashboard. Within Practice, filters allow you to drill down further by

  • Organ system
  • Case difficulty
  • Patient age
  • Disease acuity
  • Other factors

nejm-healer-case-library-image-2

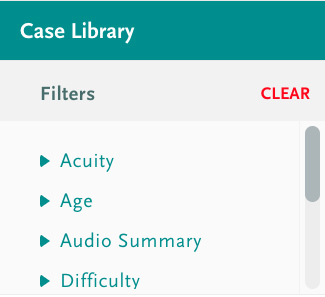
Faculty and staff can view a complete list of the cases by clicking on the Case Library section of the Educator Portal. Filters allow you to drill down further by:

  • Organ system
  • Case difficulty
  • Patient age
  • Disease acuity
  • Other factors 


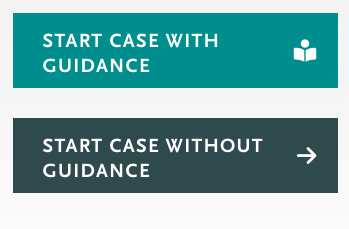
In order to work through cases, faculty and staff must separately sign in to the Learner Application. Cases are then listed under the Practice section.

We recommend that you start the first few cases with guidance. This feature adds tips and instructions to orient you to the case format. You’ll be prompted when opening the case to Start Case with Guidance.  

On average, each case takes 15–30 minutes to complete, and new cases are added every month!

Work through a Case

NEJM Healer has a Quick-Start Guide that covers how to use the application while working through a case.

If you are a visual learner, check out the case walkthrough video.

NEJM Healer also has a Frequently Asked Questions.

The Knowledge Center

The Knowledge Center contains diagnostic schemas and illness scripts to reinforce learning and work in the cases. 
 
Access the Knowledge Center through the NEJM-healer-knowledge-center-icon button at the top of the screen or here.
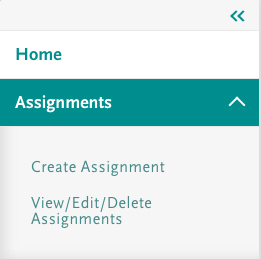
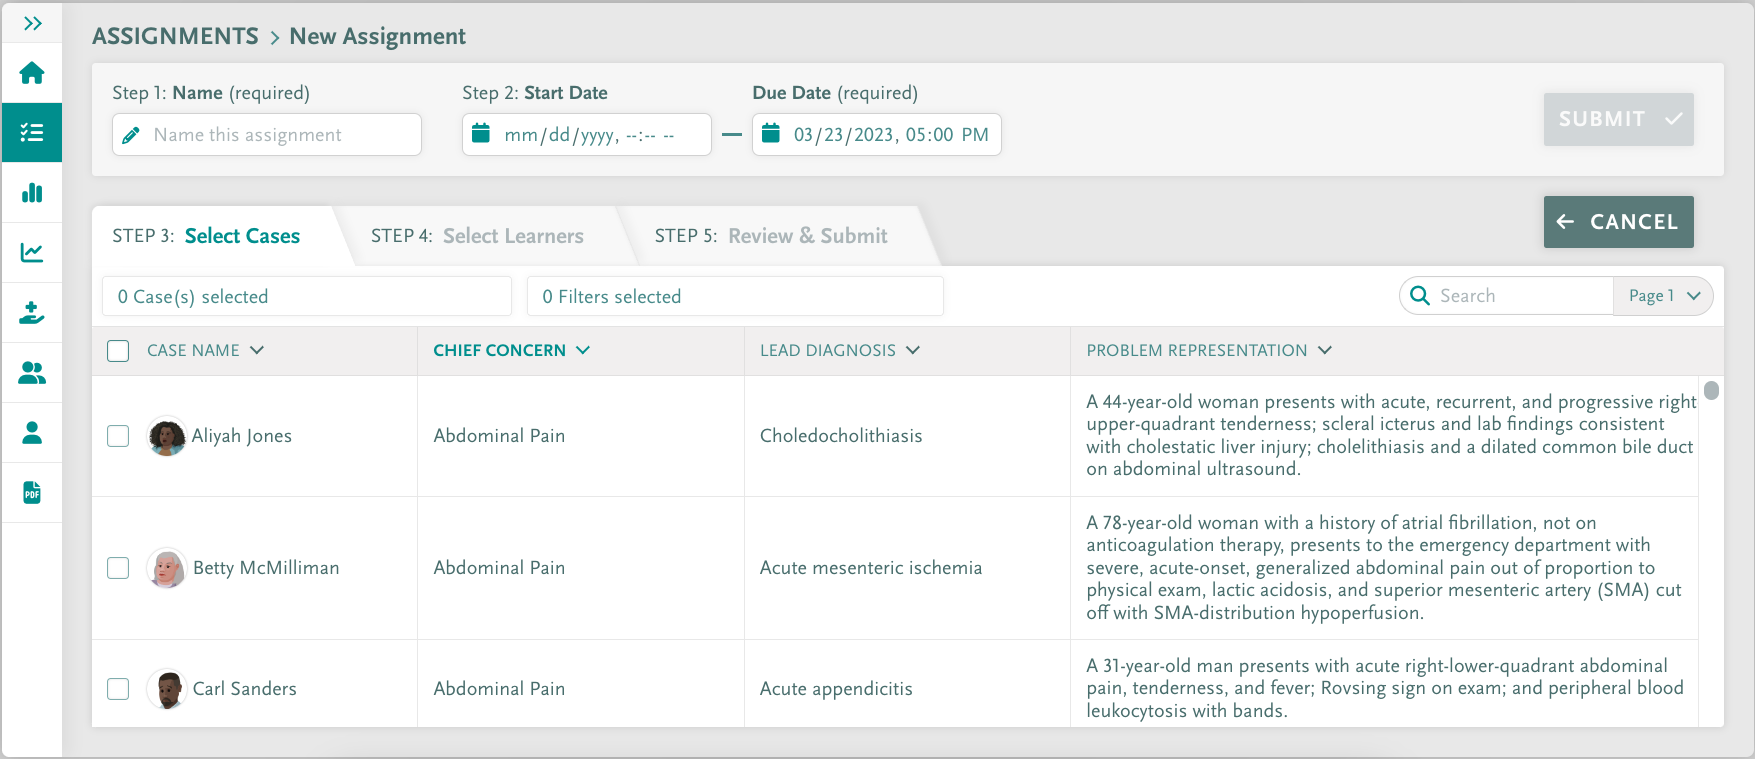
Assignments

The Learner Dashboard is split into Assignments and Practice. The Educator Portal is similarly split between Assignment Performance and Practice Performance

Student Performance

When a case is completed, students will have access to several reports, which capture objective and subjective performances. These include:

This is a snapshot of your diagnostic reasoning.

  • Final Lead Diagnosis: Did you identify the lead illness(es)? 
  • Differential Diagnostic Accuracy: Does your overall differential diagnosis match that of an expert? 
  • Concordance: How strongly do your illness scripts concord with the expert illness scripts or the diseases on your differential diagnosis? 
  • Problem Representation Concordance: What was the concordance between your problem representation and an expert’s? 
  • Management Plan Concordance: What was the concordance between your management plan and an expert’s? 

Each of these reports includes areas for further study, including links to diagnostic schemas and illness scripts in the Knowledge Center, NEJM resources, and other resources.

Student Frequently Asked Questions

Under Chief Concern, you will see information about onset, site, severity, and chronology—all the key components you need to be able to write a PR for this case.

The expert consultants who help write and review the cases for NEJM Healer may have been taught a different way of writing a PR.

If you follow the approach you have learned—problem first, context second—you will not be counted off, even though this may be different from the experts’ PR. Be sure to include onset, site, severity, and chronology using descriptors you have learned.

In the clinical reasoning curriculum you’ve learned, the PR is your early, high-level, abstract synthesis of the problem you are trying to solve.

As you work through each case and gather more information, the problem you are trying to solve becomes more detailed and evolves to the Summary Statement for the case.

Thus, when prompted, you should revise your initial PR with additional information that provides a more complete understanding of the case with your final revision typical of a case summary statement.

Under the tabs for History, Exam, and Testing, you will have a chance to select findings you think are relevant to your diagnostic investigations.

Usually, more information is available than you need, and you should select those findings that fit best with your illness script for the diagnosis under consideration.

Healer has a diagnostic pause where you will evaluate each of the findings you selected in your hypothesis-driven inquiry.

For each finding and each diagnosis, you will choose if the actual finding is consistent with a diagnosis (the green direction) or inconsistent with the diagnosis (the red direction).

No. Instead, you will compare your clinical reasoning to that of the expert. Healer will guide you through that process.

For Faculty and Staff

Create an Assignment 

To create assignments in the Educator Portal, click on Assignments in the left-hand menu, and then click Create Assignment.  

Next, you’ll be prompted to complete several steps and create an assignment.

NEJM-healer-healer-assignment-image-2
Start an assignment

Steps 1 + 2

Give the assignment a name and select a due date and time.

If you don't specify a start date, the assignment will show up immediately on student's dashboard.

Choose case

Step 3

Choose the cases you want, using the filters on the left as needed to identify the best cases for your needs.

Please note that once you assign the case(s), they are no longer available in the Practice library.

Choose Learner

Step 4

Assign the case to a cohort of students, to individual students, or both.

Review + Submit

Step 5

Review your choices and click Submit.

View a Learner’s Performances 

Select members of the curriculum and assessment teams can view a learner’s performance in two ways:

nejm-healer-learner-performance-menu-imagenejm-healer-learner-performance-image

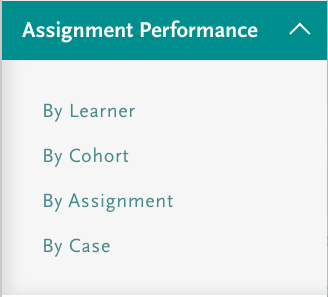
  1. Go to Assignment Performance via the left-hand menu, and then choose an option to narrow down the search.
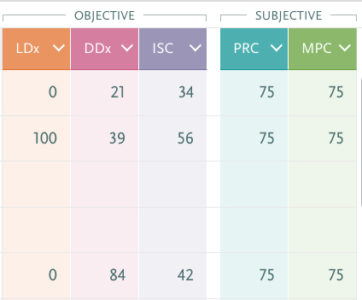
  2. Find the learner and/or case that you want to review. You will arrive at an overview screen, which compares the objective and subjective performance.

  3. Click the Export button to get a detailed .csv, or click the Student’s name or case to view a detailed after-case report within the browser. 

NEJM-healer-learner-performance-image-3

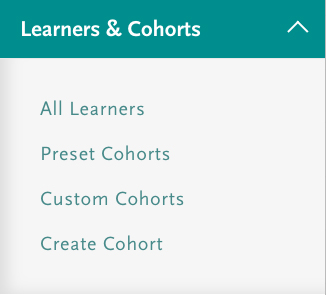
  1. Go to Learners & Cohorts via the left-hand menu. Select All Learners, and click the Impersonate button to the left of the learner’s name to log in as that learner.   
  2. While impersonating a student, click on Assignments and select the case you want to review from the list of completed assignments. This takes you to a printable version of the student’s performance report.

While impersonating a student, you are logged in as that person. Any changes you make will be saved.

Related Reading

Amboss Basics