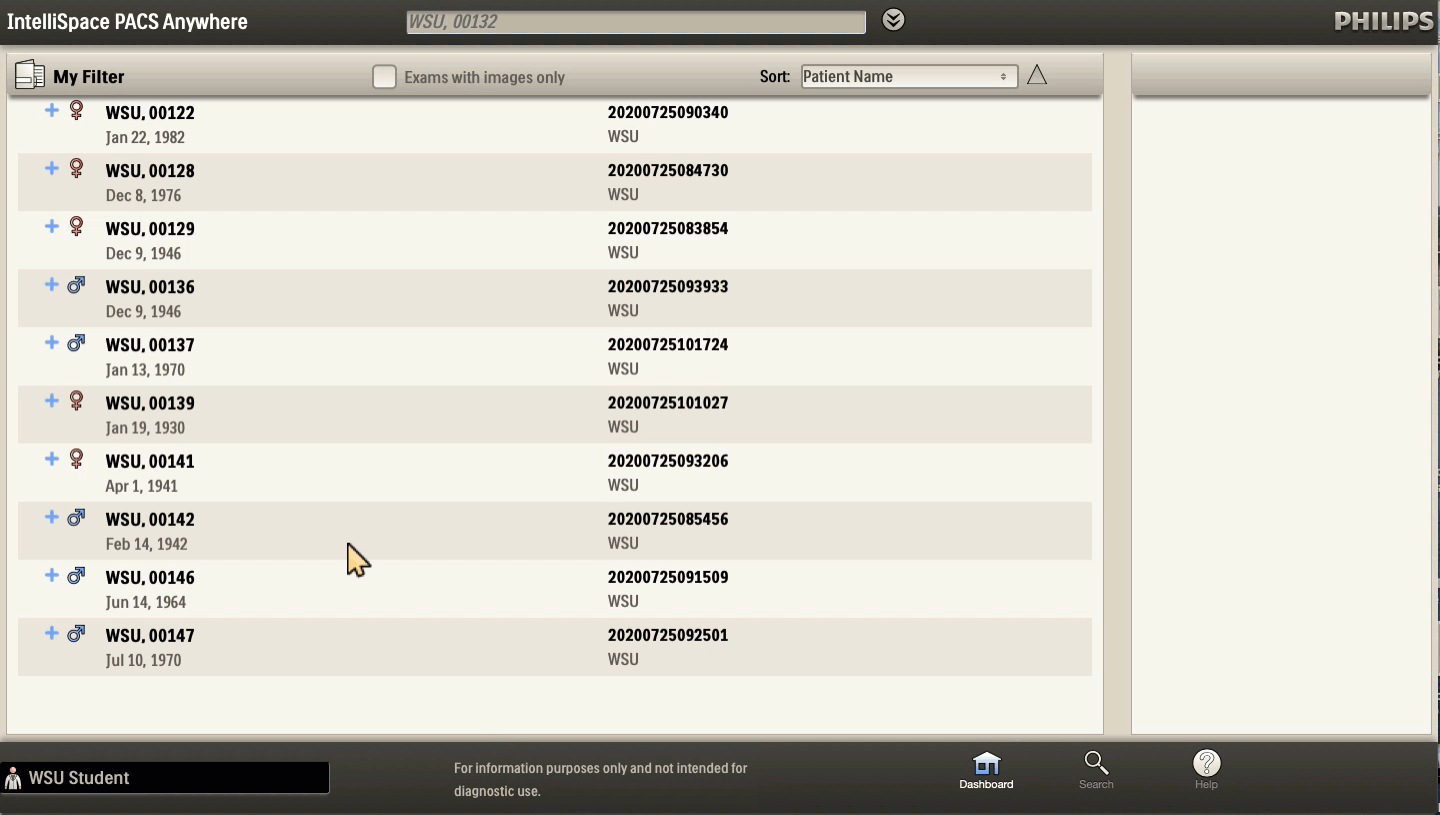
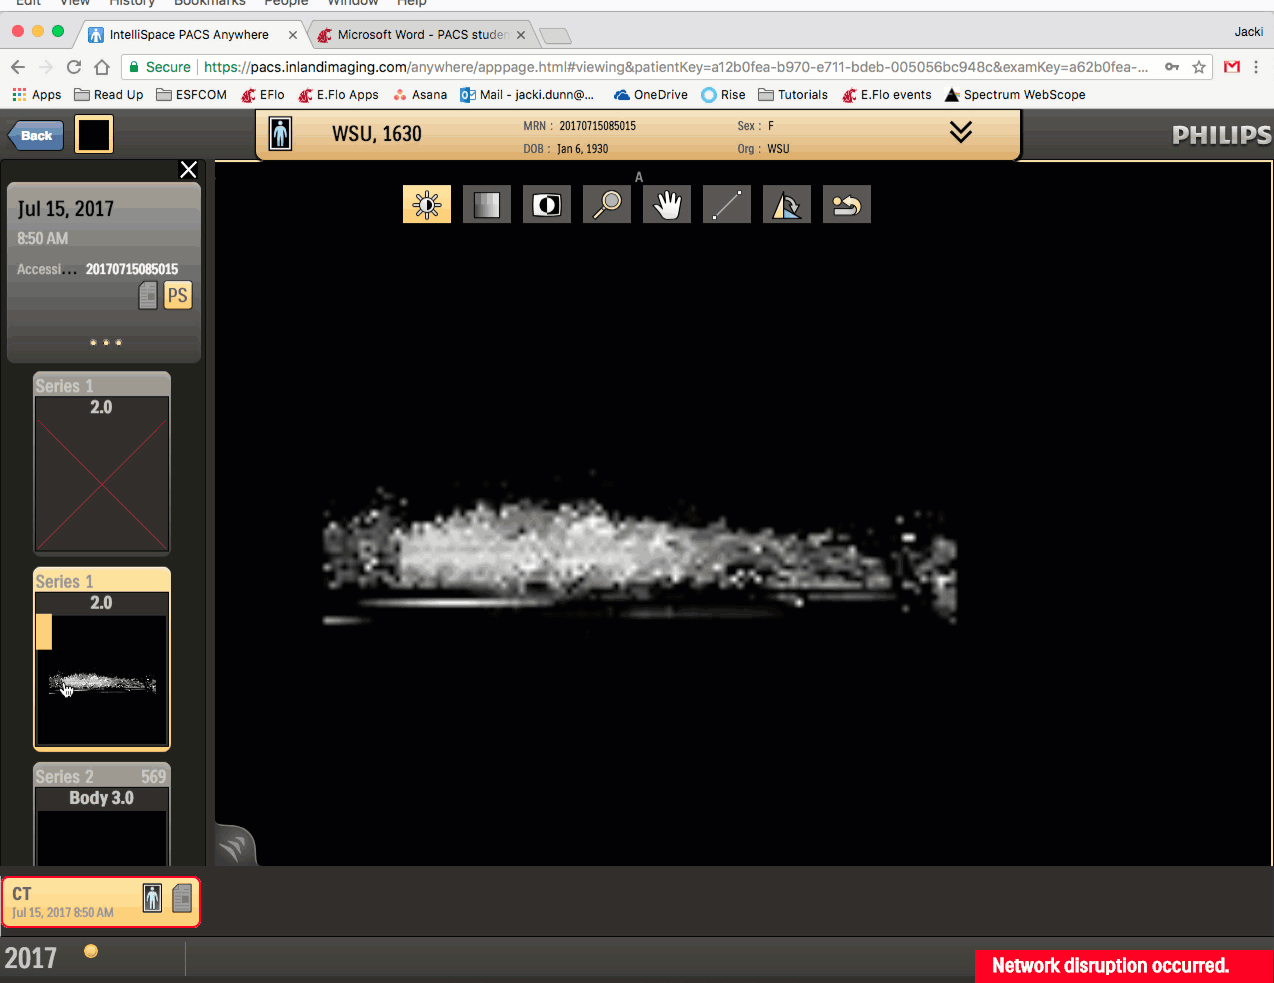
Patients
Patients appear in the Main Window. Select a patient to see the available scans in the right-hand window.
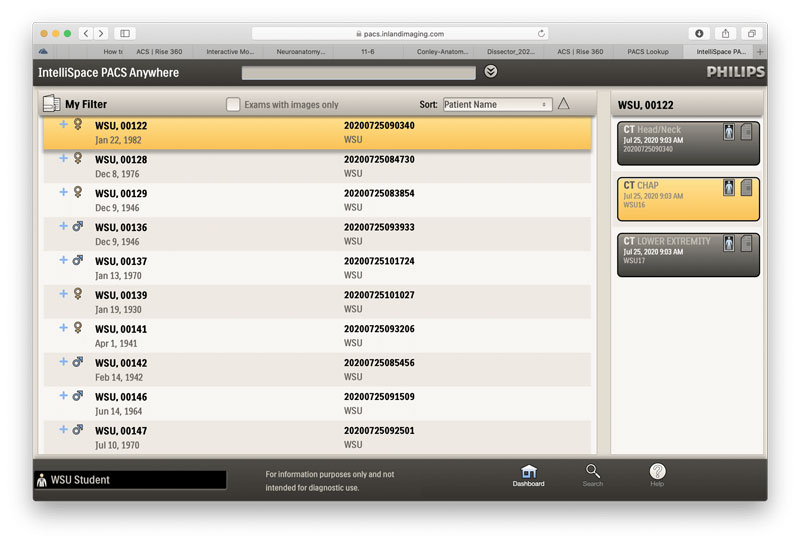
Available Scans
Click this box to see the available scans for that patient. There are options for three anatomical areas to view:
- CT Head/Neck
- CT CHAP (Chest, Abdomen, Pelvis)
- CT Lower Extremity
Here, CT CHAP has been highlighted yellow—once opened, a new screen opens with the images. We will use CT CHAP as an example, but the CT Head/Neck and CT Lower Extremity images can be accessed in similar fashion.
Search
Click the Search icon or use the Search Bar at the top to find a patient by accession number, name, or date of birth.
Help
Access the PACS Help Page.
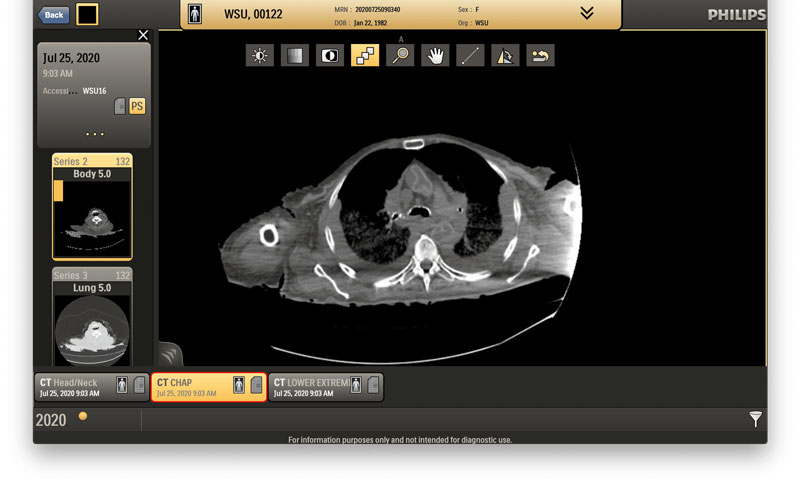 132 axial images through the chest, abdomen, and pelvis in soft tissue window. 5 mm slice thickness.
Once this series is selected, place the cursor over the large image and scroll through the images.
As you scroll, the gray box on the side will disappear.
Click the Back button in the upper-left corner, and the gray box will appear again. Move down to select the next sequence.
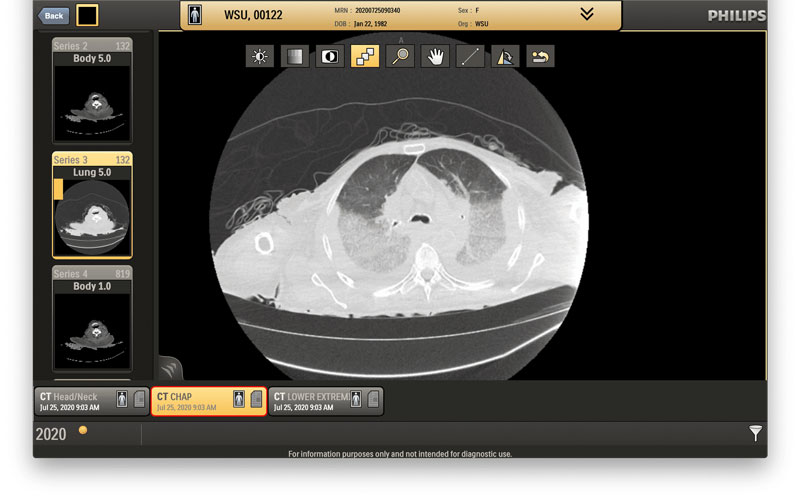
132 axial images through the chest, abdomen, and pelvis in lung window. 5 mm slice thickness.
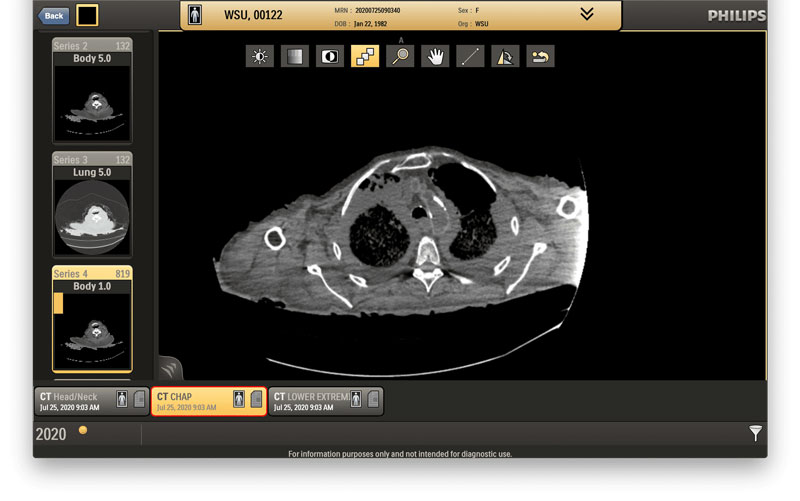
819 axial images through the chest, abdomen, and pelvis in soft tissue window. 1 mm slice thickness.
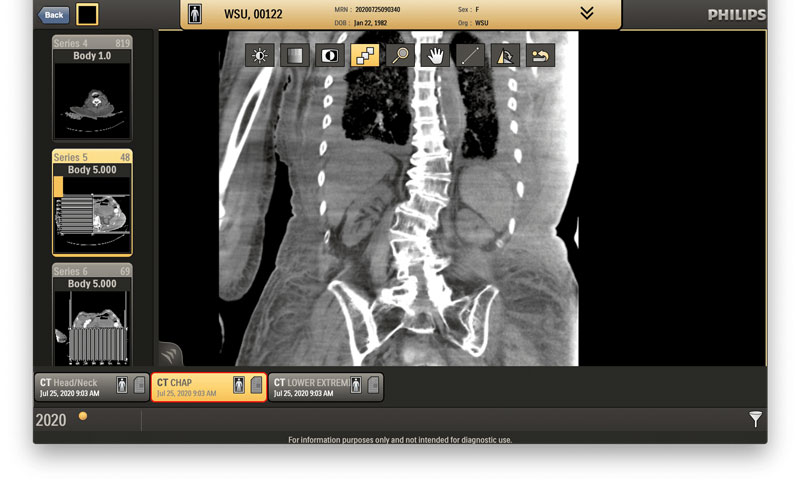
Coronal reformations with 48 coronal images in soft tissue window.
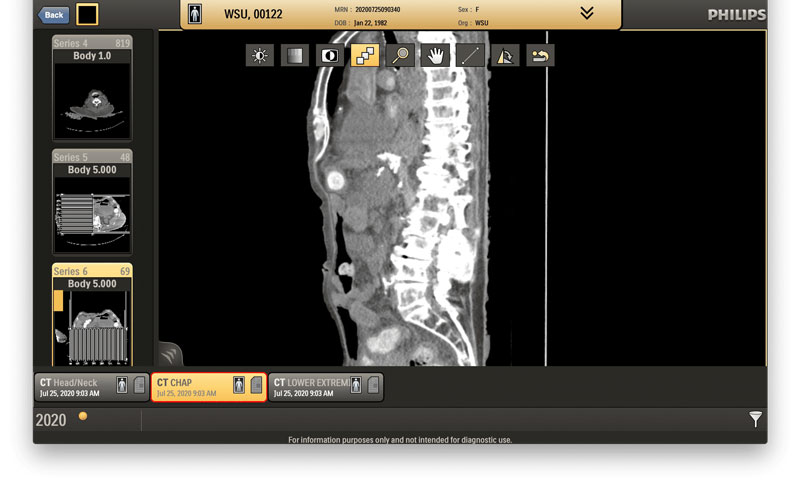
Sagittal reformations with 69 sagittal images in soft tissue window.
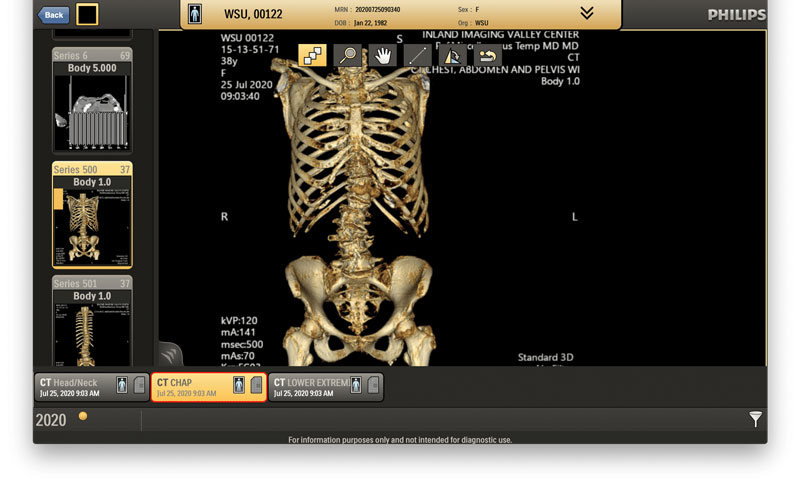
3-D reformations of the bones. Click on the image and scroll, and the 3-D image will rotate.

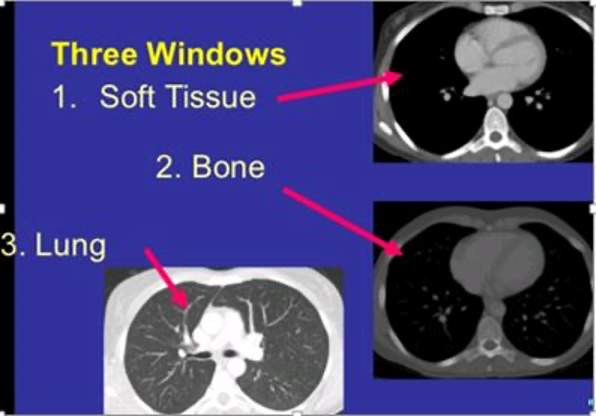
Shaded Square To change Window Width and Window Level (WW/WL), click on this icon to open a window that allows selection of different imaging windows. See the example above: 2Bone has been selected to optimize visualization of high-density objects (bones, calcification, metal, and more) on the CT exam.
Scrolling Tool
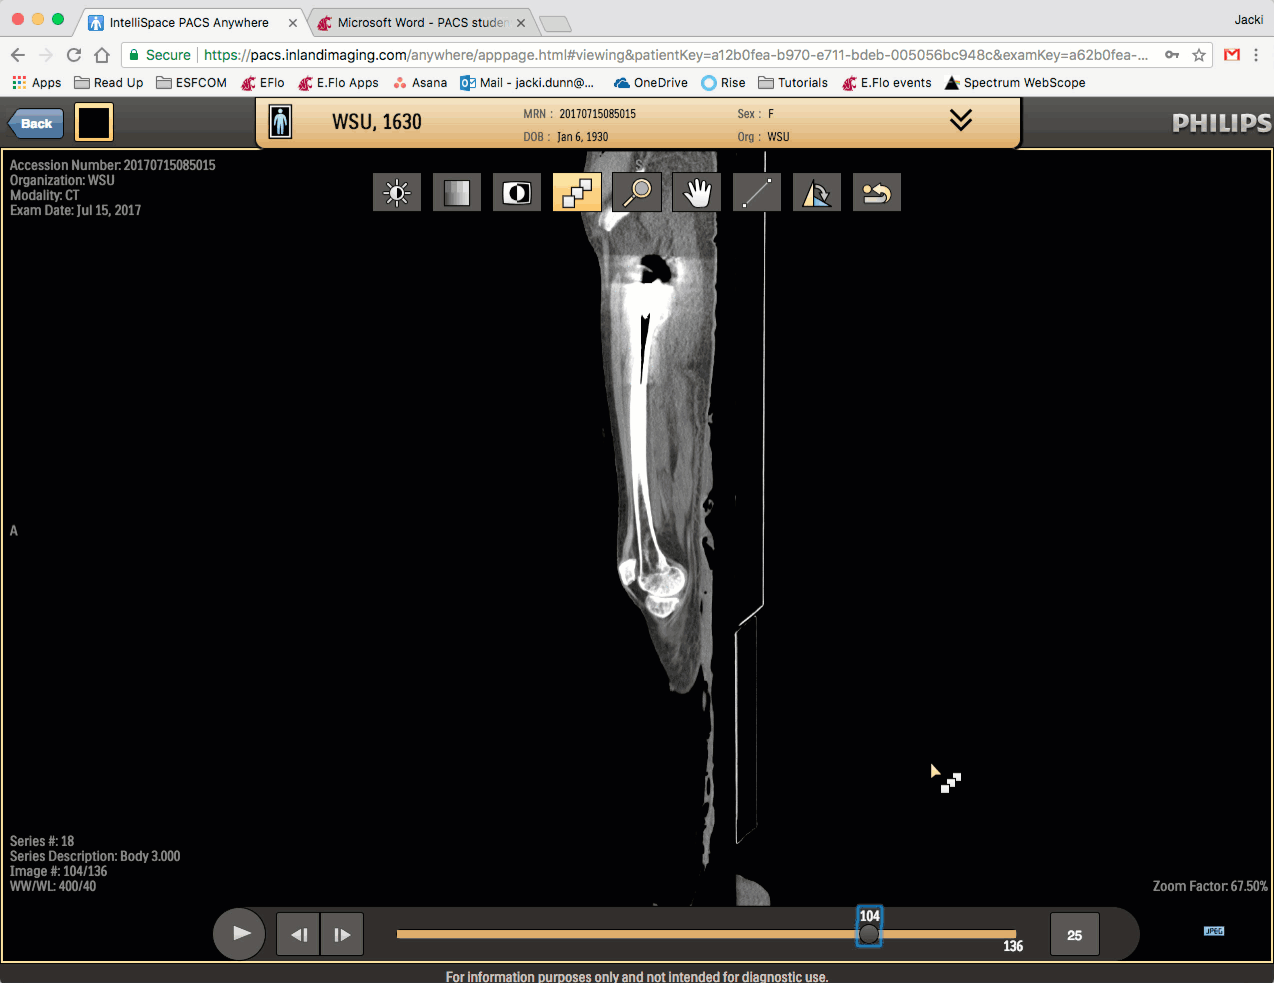
Highlighted in yellow, this allows scrolling through CT images.
Magnifying Glass
Zoom in or out on the image.
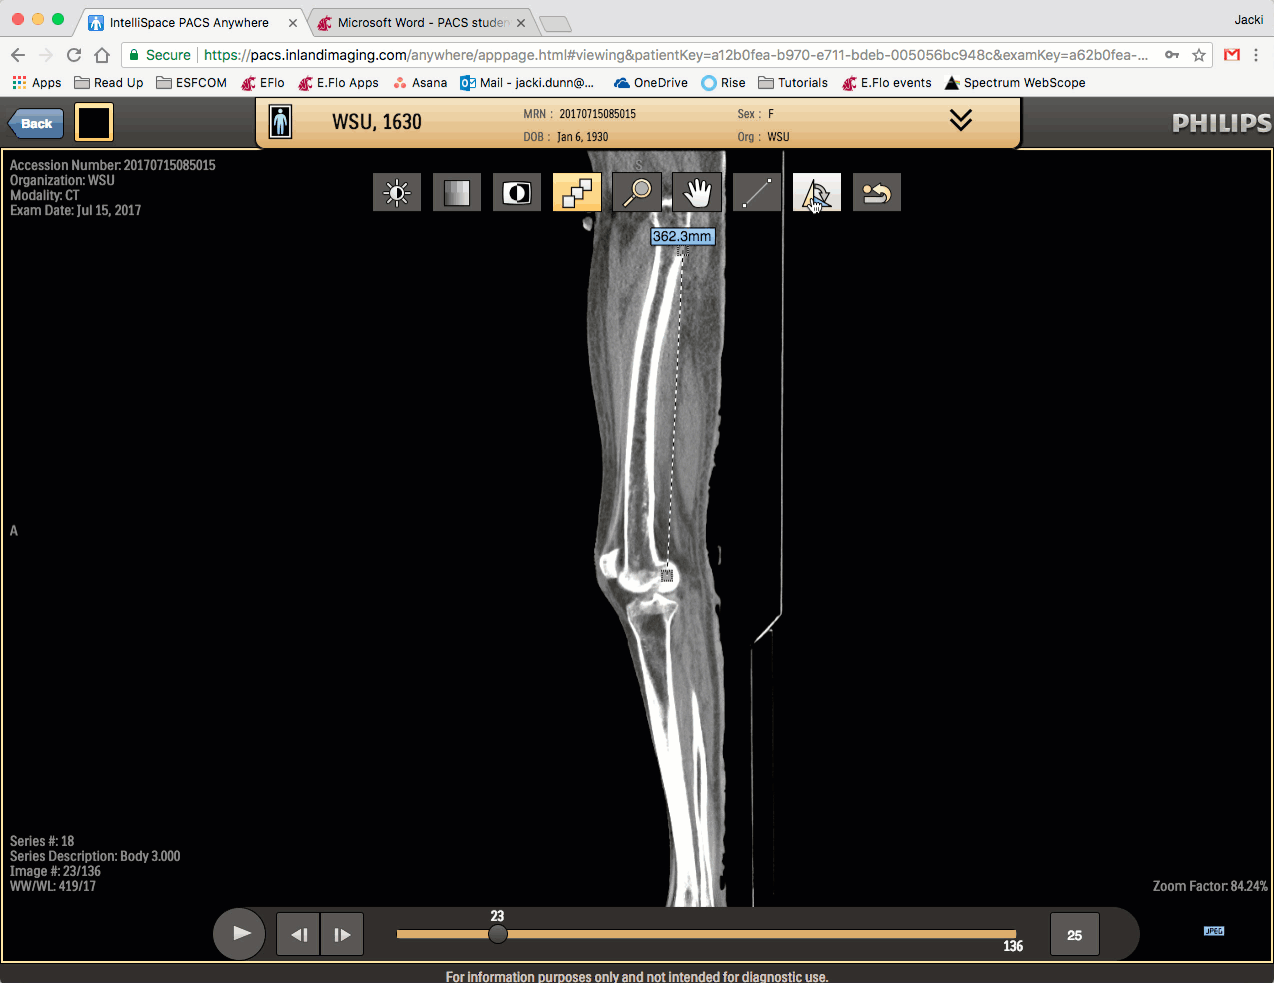
Measure Tool
Measures the length or angle of an object.
Select an image to preview. Then, click again on the image to open the viewer and watch the scan video.
Use the Default Squares icon to move throughout the scan. Slide left to go back, right to go forward.
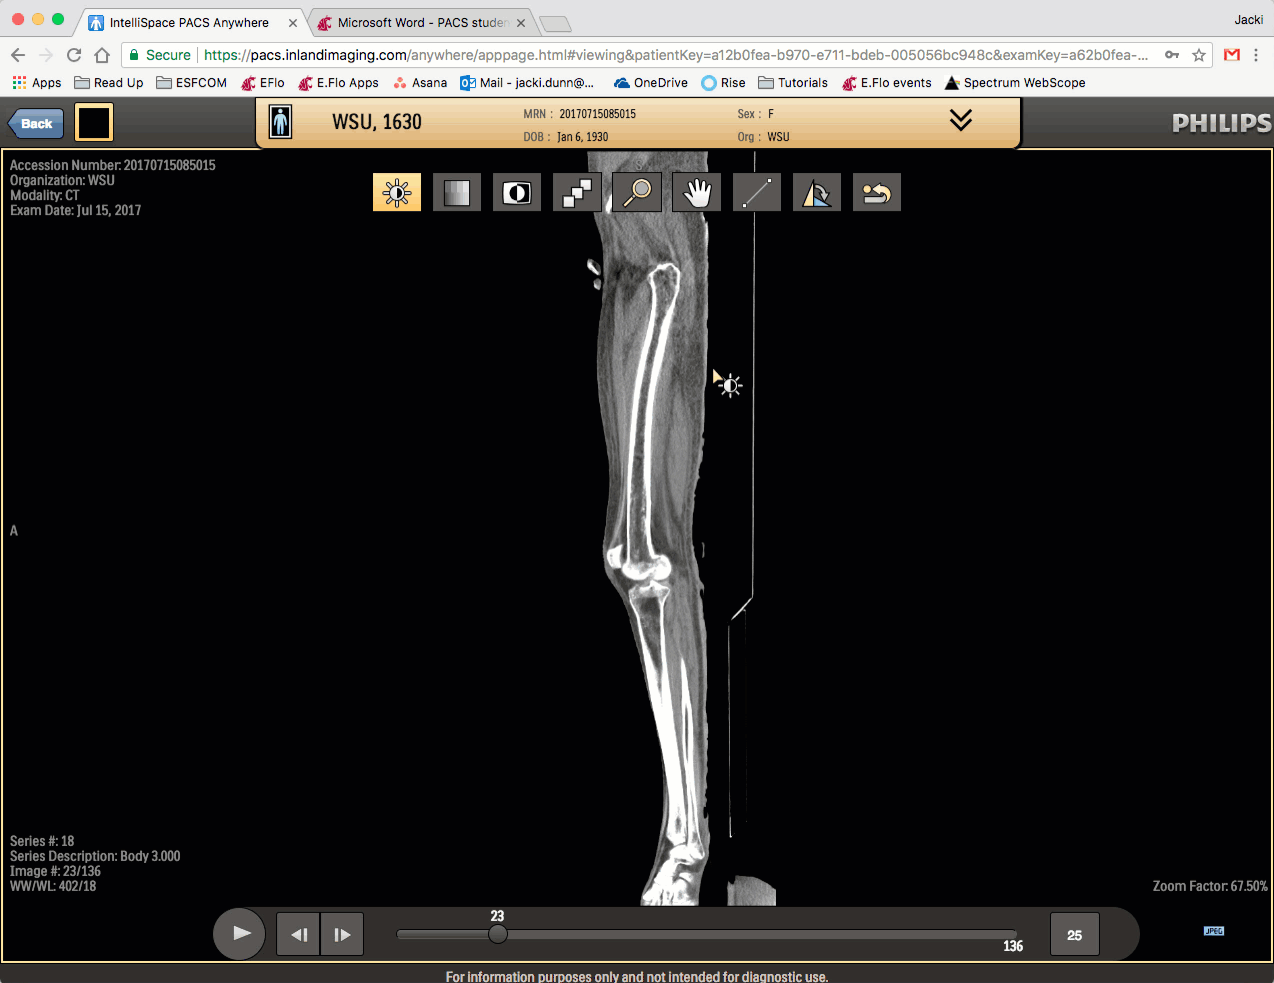
Adjust contrast with the Sun icon . Click and drag up or down to increase or decrease contrast. Apply presets with the second icon.

Reverse contrast with the Black/White icon .

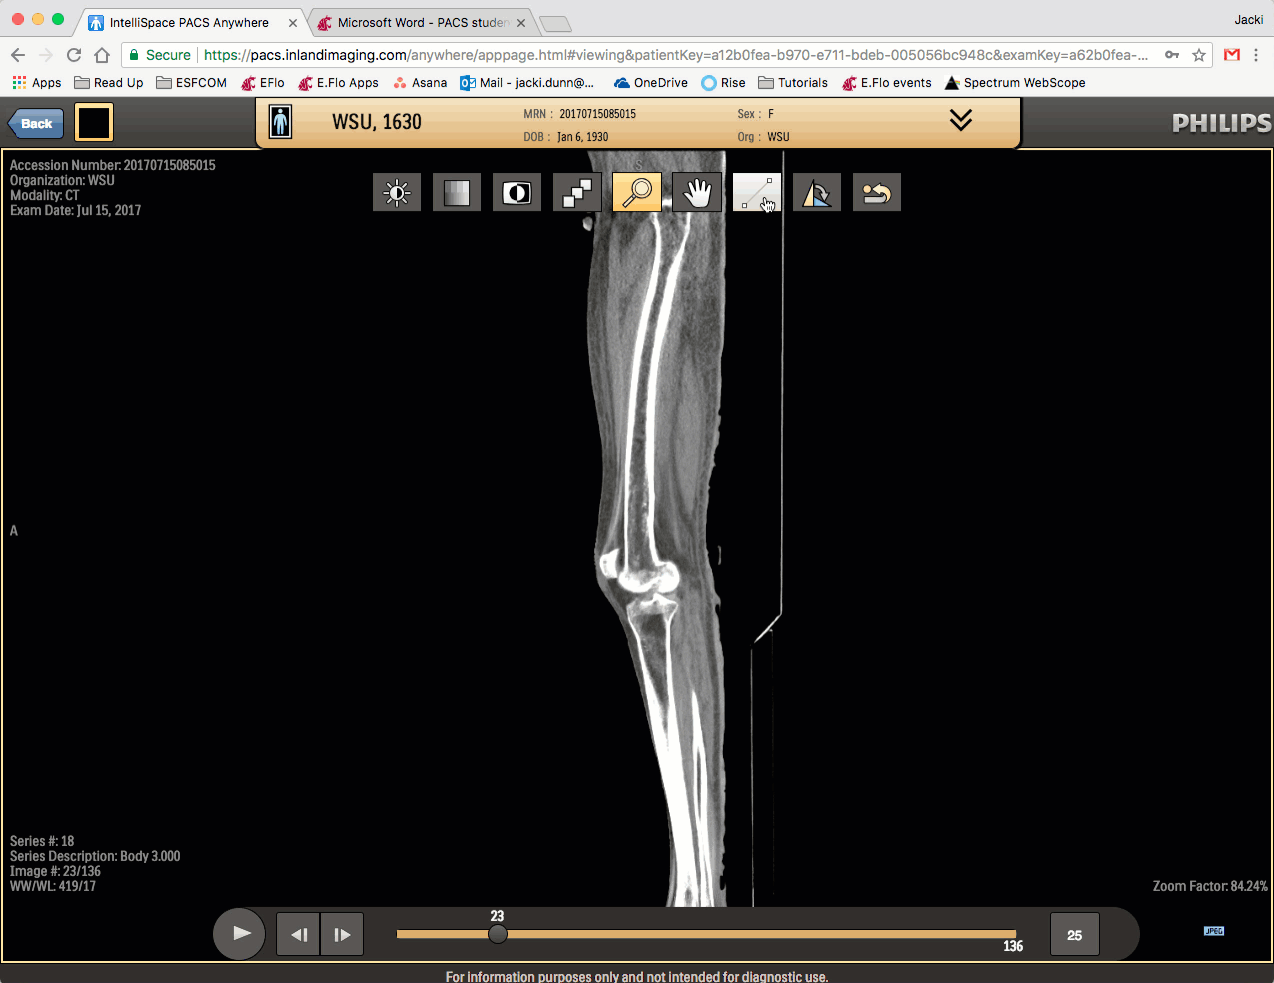
Zoom in and out with the Magnifying Glass icon . Use the Hand icon to move around the image.
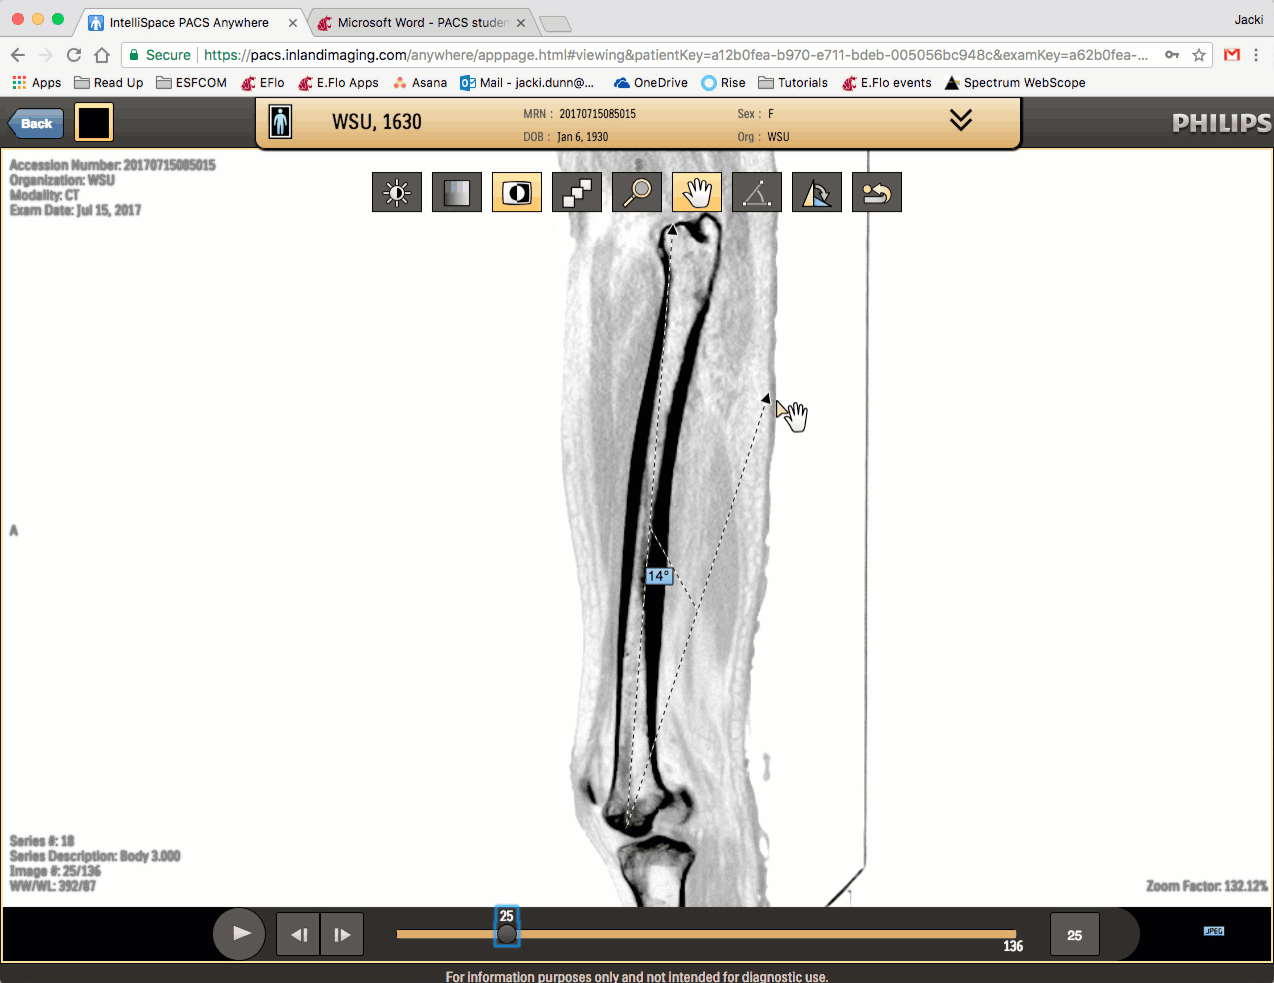
Measure the length between two points or measure an angle with the Line Segment tool.
Rotate the image using the Rotate tool.
Undo all changes with the Last icon.