Schedule a Meeting
- Open Outlook and navigate to the Calendar view.
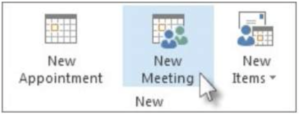
- From the Calendar Ribbon along the top, click on the Home tab and click New Meeting.
In the meeting window, fill out the different sections as necessary, such as To, Subject, Location, Start and End Time, and Body.
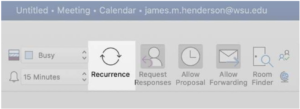
- If the meeting is a recurring meeting, you can select Recurrence in the ribbon along the top and configure those options.
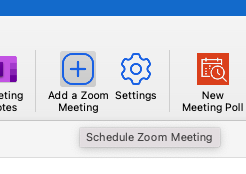
- Click the Add a Zoom Meeting button. If you are using New Outlook, the button will simply say Zoom, and you’ll select Add a Zoom Meeting from the drop down.
- If you’re not seeing this button, skip down to the section called Setting up the Outlook Add-in for Zoom.
- Zoom will now auto-populate meeting information into the body of your email.
- Click the Settings icon to adjust any settings for this specific meeting, like adding a waiting room, automatically recording the meeting, or preferences for participants camera/audio.
- Add any other information to the body of the email and click Send when you’re ready!
- Your recipient will receive the invitation and link to the meeting, and it will be added to everyone’s Outlook calendar.
- Open Outlook and navigate to the Calendar view by selecting the Calendar icon in the left sidebar.
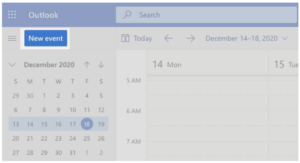
- From the ribbon along the top, click New Event or click on an empty space in your calendar to schedule an event at that time.
In the meeting window, fill out the different sections as necessary, such as To, Subject, Location, Start and End Time, and Body. If you clicked directly on the calendar, you may want to click the arrows in the top right of the window to expand it and view more options for scheduling your event.
- If the meeting is a recurring meeting, you can select Recurrence in the ribbon along the top and configure those options.
- To add a Zoom meeting, click the three dots in the top ribbon, and then select Add a Zoom Meeting.
- If you’re not seeing this button, skip down to the section called Setting up the Outlook Add-in for Zoom.
- Zoom will now auto-populate meeting information into the body of your email.
- Click the Settings icon to adjust any settings for this specific meeting, like adding a waiting room, automatically recording the meeting, or preferences for participants camera/audio.
- Add any other information to the body of the email and click Send when you’re ready!
- Your recipient will receive the invitation and link to the meeting, and it will be added to everyone’s Outlook calendar.
The Outlook Scheduling Assistant
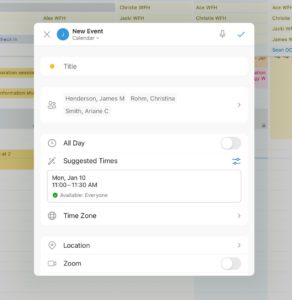
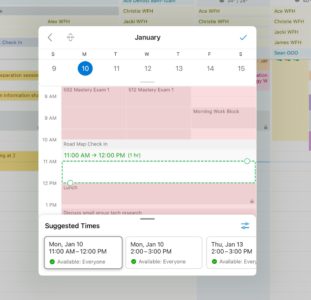
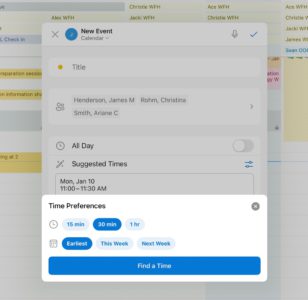
The iPad version of Outlook has a Scheduling Assistant, but it’s much more magical than the desktop or web versions! To use it, follow these steps:
-
- Once you’ve found the perfect time, tap the check mark in the top right corner, and you can continue filling out the event before sending to your participants by selecting the check mark again.
Set up the Outlook Add-in for Zoom
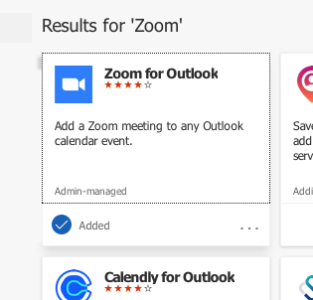
If you do not already have the Add a Zoom Meeting icon, you may need to add Zoom to your Outlook.
Need more info?


