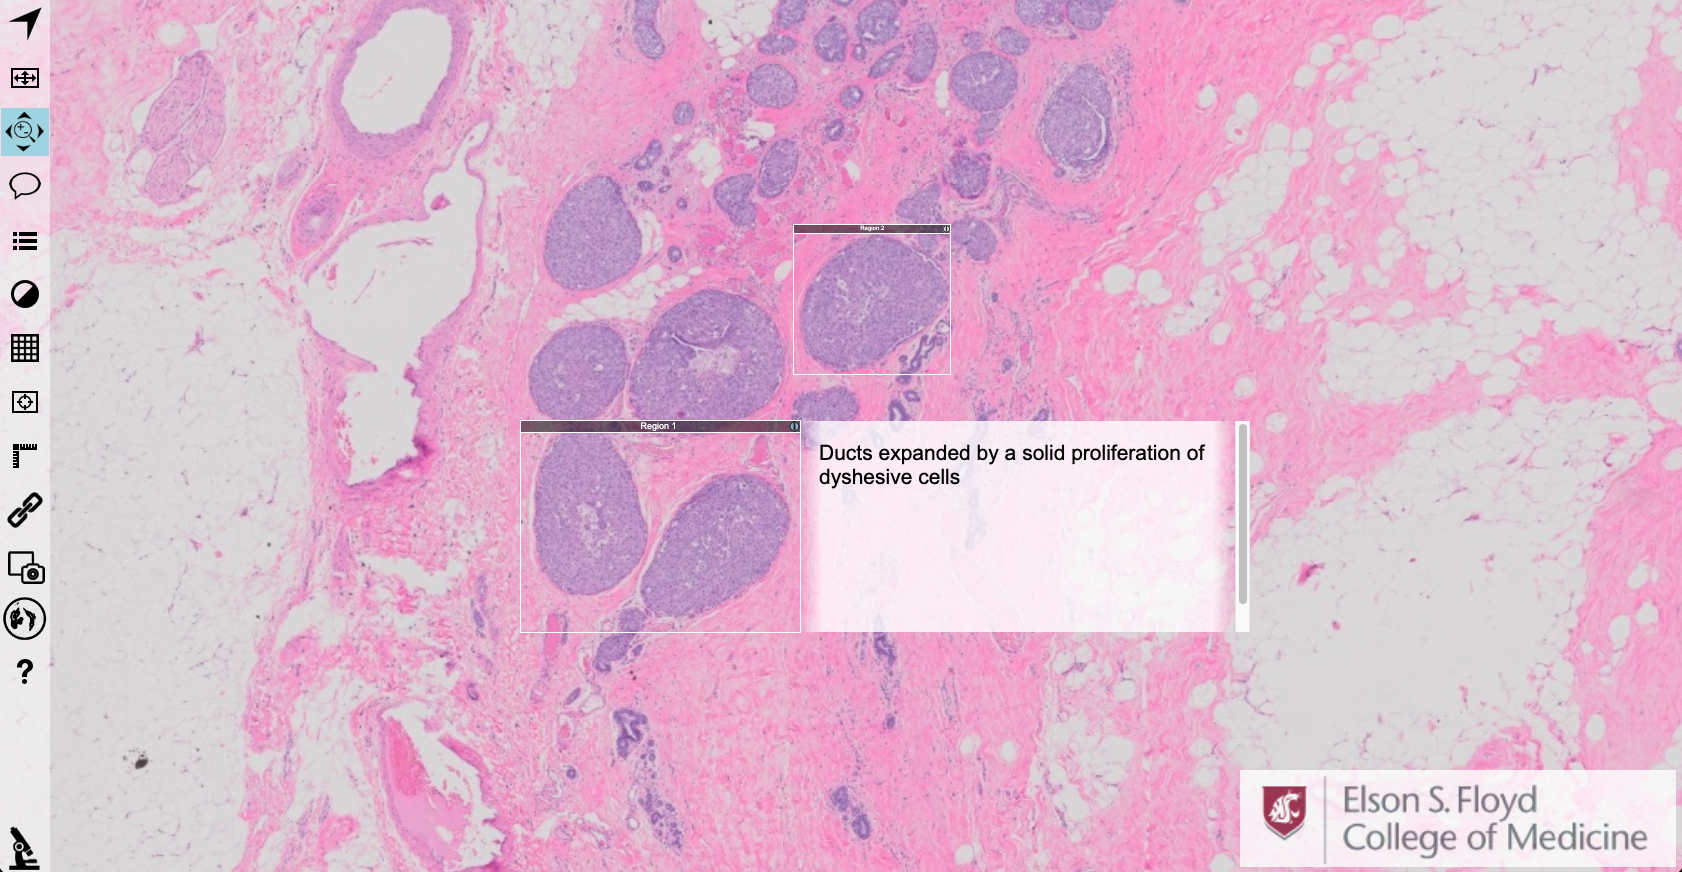
Digital Scope is a web-based slide viewer that allows users to look at extremely high-resolution images on the Internet. Digital Scope is used in Histology to view virtual slides, which are created with a microscope to digitally scan actual specimens (usually sections of tissue mounted on glass microscope slides).
Access Digital Scope
Access Digital Scope via an Internet browser on computers, tablets, or smartphones. It is best viewed with the latest versions of Edge, Chrome, Firefox, or Safari. Instructors provide students with hyperlinks to access Digital Scope images. Each image has a specific hyperlink associated with it.
Use Digital Scope
Digital Scope offers several tools to interact with images, which you can read more about below. The primary navigation includes:
- Pan
- Click and drag on your computer.
- Tap and drag on touch screens.
- Zoom
- Use the scroll bar on your computer.
- Use a pinch on touch screens.
Digital Scope Viewer Tools
Click or tap on the blue Plus icons on the image below to see what the Viewer Tools can do.

Navigation
Click or tap on the Arrow icon to move the image or change the magnification.
Full Screen
Toggle the Full screen function on or off with this tool.
Case History
Click or tap on the Speech Bubble icon to view the case history if available.
Regions of Interest
Click or tap the List icon to view the preselected regions of interest.
Image Adjustments
Click or tap on the Half-circle icon to adjust the brightness or contrast.
Overlays
Click or tap on the Grid icon to insert gradient overlays for cell counts.
Tracker
Click or tap on the Tracker icon to view the thumbnail highlighting the current and previously viewed regions.
Link Tool
Generate links to the image with selected attributes.
Measuring Tool
Click or tap on the Measuring Tool icon to measure areas in microns distances between selected points.
Navigation Toolbar
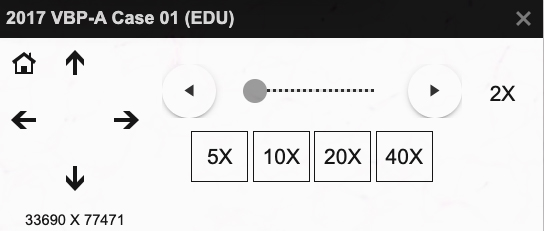
Once you click or tap on the Arrow icon in the main toolbar, you’ll see a set of Navigation Tools. Click or tap on the blue Plus icons on the image below to see more about the tool.

Home
The Home icon returns the image to 0x magnification.
Panning
Click or tap on the Directional Arrow icon to move the image in the chosen direction. The image can also be moved using your mouse by clicking and dragging or on your iPad by tapping and dragging.
Magnification Slider
Click and drag or tap and drag the slider in the chosen direction. The magnification can also be adjusted by scrolling with your mouse.
Magnification Buttons
Click or tap on the Magnification Buttons to adjust to the selected magnification.
Region of Interest Toolbar
Click or tap on the Information icon to display information for a specific region of interest.
Image Adjustments Toolbar
Once you click or tap on the Image Adjustment Tool in the main toolbar, you’ll see the Adjustment tools. Click or tap on the blue Plus icons on the image below to see more about each tool.

Brightness
Click or tap on the Plus icon or Minus icon to make the image brighter or darker.
Contrast
Click or tap on the Plus icon or Minus icon to adjust the contrast of the image.
Reset Brightness
Click or tap on the Reset icon to reset the brightness of the image.
Reset Contrast
Click or tap on the Reset icon to reset the contrast of the image.
Overlays Toolbar
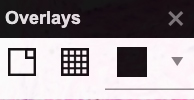
Once you click or tap on the Overlay icon in the Main toolbar, you’ll see the Overlay tools. Click or tap on the blue Plus icons on the image below to see more about each Overlay tool.

Miller Disc
Overlays a Miller graticule for cell counts.
Grid
Overlays a grid pattern.
Color Dropdown
Changes the color of the overlay.

