

Select button
- Returns to mouse functionality (if using another tool).
- Allows selection of an item to move it around the board.
Eraser
Allows user to erase work (text boxes, drawing, or stamps).
Undo
Undo work to return to go back to the previous state.
Redo
If you have deleted or erased your work, but want it to return, use this button.
Clear
Clears the whiteboard of all work. Be careful—this cannot be undone.
Save
Save the whiteboard as PNG to refer back to later.
Text tool
Create a text box anywhere on the whiteboard page. Add text to answer questions and engage in the presentation.
- Click on the Format button to choose text color or change to bold, italics, and size.
- Click on the Select option to move the box to another position on the board.
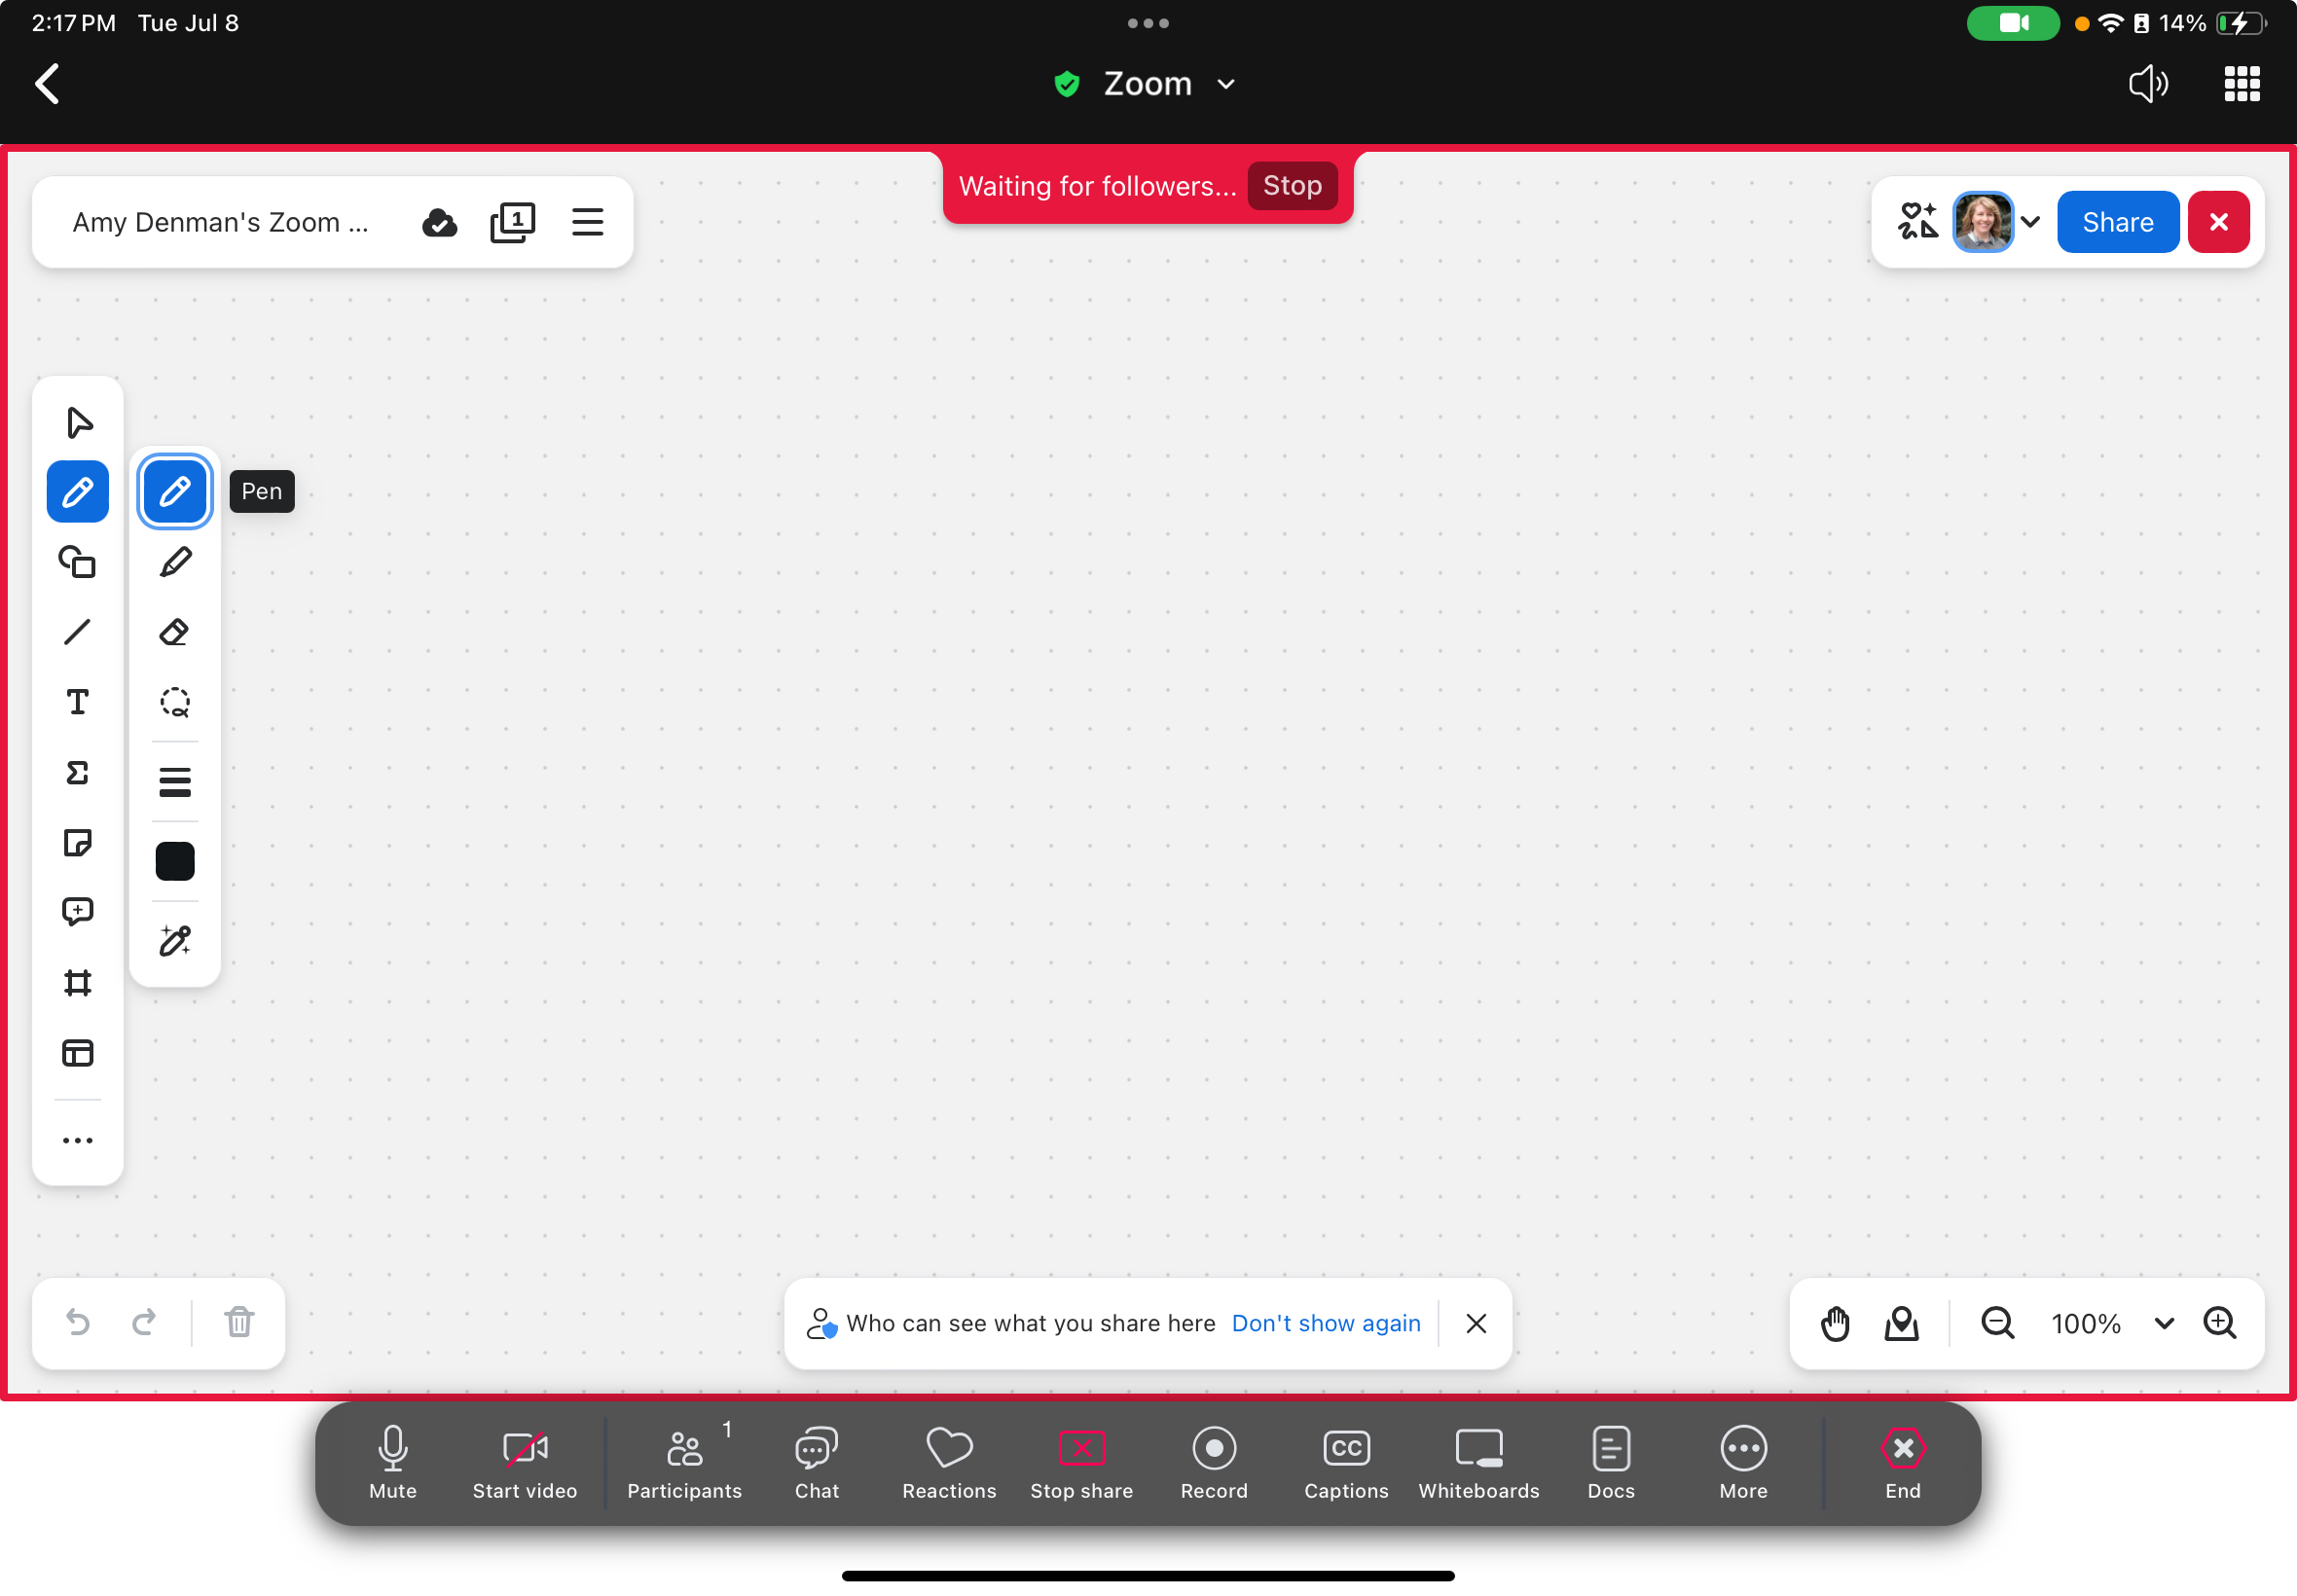
Pen tool
Click the Pen tool to open the Drawing toolbar.
Format tool
Use the format tool when using the text or draw tools.
Stamp tool
The stamp tool is great for interacting with Zoom participants.
Spotlight tool
Presenters and participants can point to or highlight items on the whiteboard.
Shapes tool
Opens options for circles, boxes, and more.
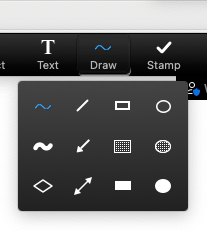
Lines tool
Opens options lines, arrows, line thickness, and color.
Equation tool
Opens a box with equation choices from pull down menus to help you build your own equations.
Sticky note
Allows you to add sticky notes to the whiteboard.
Quotation box
Add a comment on the whiteboard, view other comments, like or @ a person(s), and add links.
Frame box
Add a frame box to the whiteboard as a way to present later.
Templates
Choose from a variety of available templates including: Agile and Scrum, Brainstorming, Ideation, and many others.
- It is a lot of fun to use your iPad and Apple Pencil to participate in Zoom whiteboard activities.
- Click or tap on the Format tool to change color or resize the line to make it unique!
- Use the shape options to expand, reduce, flip, or manipulate the drawing.
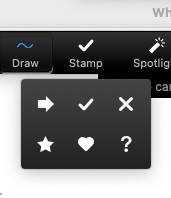
- Have participants use a stamp as a means of answering questions—“which item is correct?”
- Take a poll by having the participants mark their choice.
- Ask if participants understand—mark the item that is confusing/needs more clarification by using a Question mark stamp.
- There are a lot of possibilities!
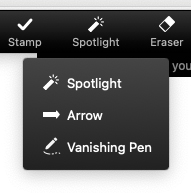
- When showing off important information, use the Spotlight tool as a laser pointer.
- Use the Arrow button to point to important information. Note: this will add the participant’s name to the arrow.
- Use the Vanishing pen to interact on the board without the information being saved like it would with a text box or drawing tool.
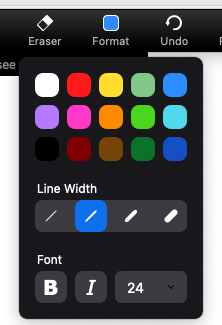
When using the Text or Drawing tools, change the color, line width, font attributes (bold, italic, or size) to make your additions to the whiteboard unique!
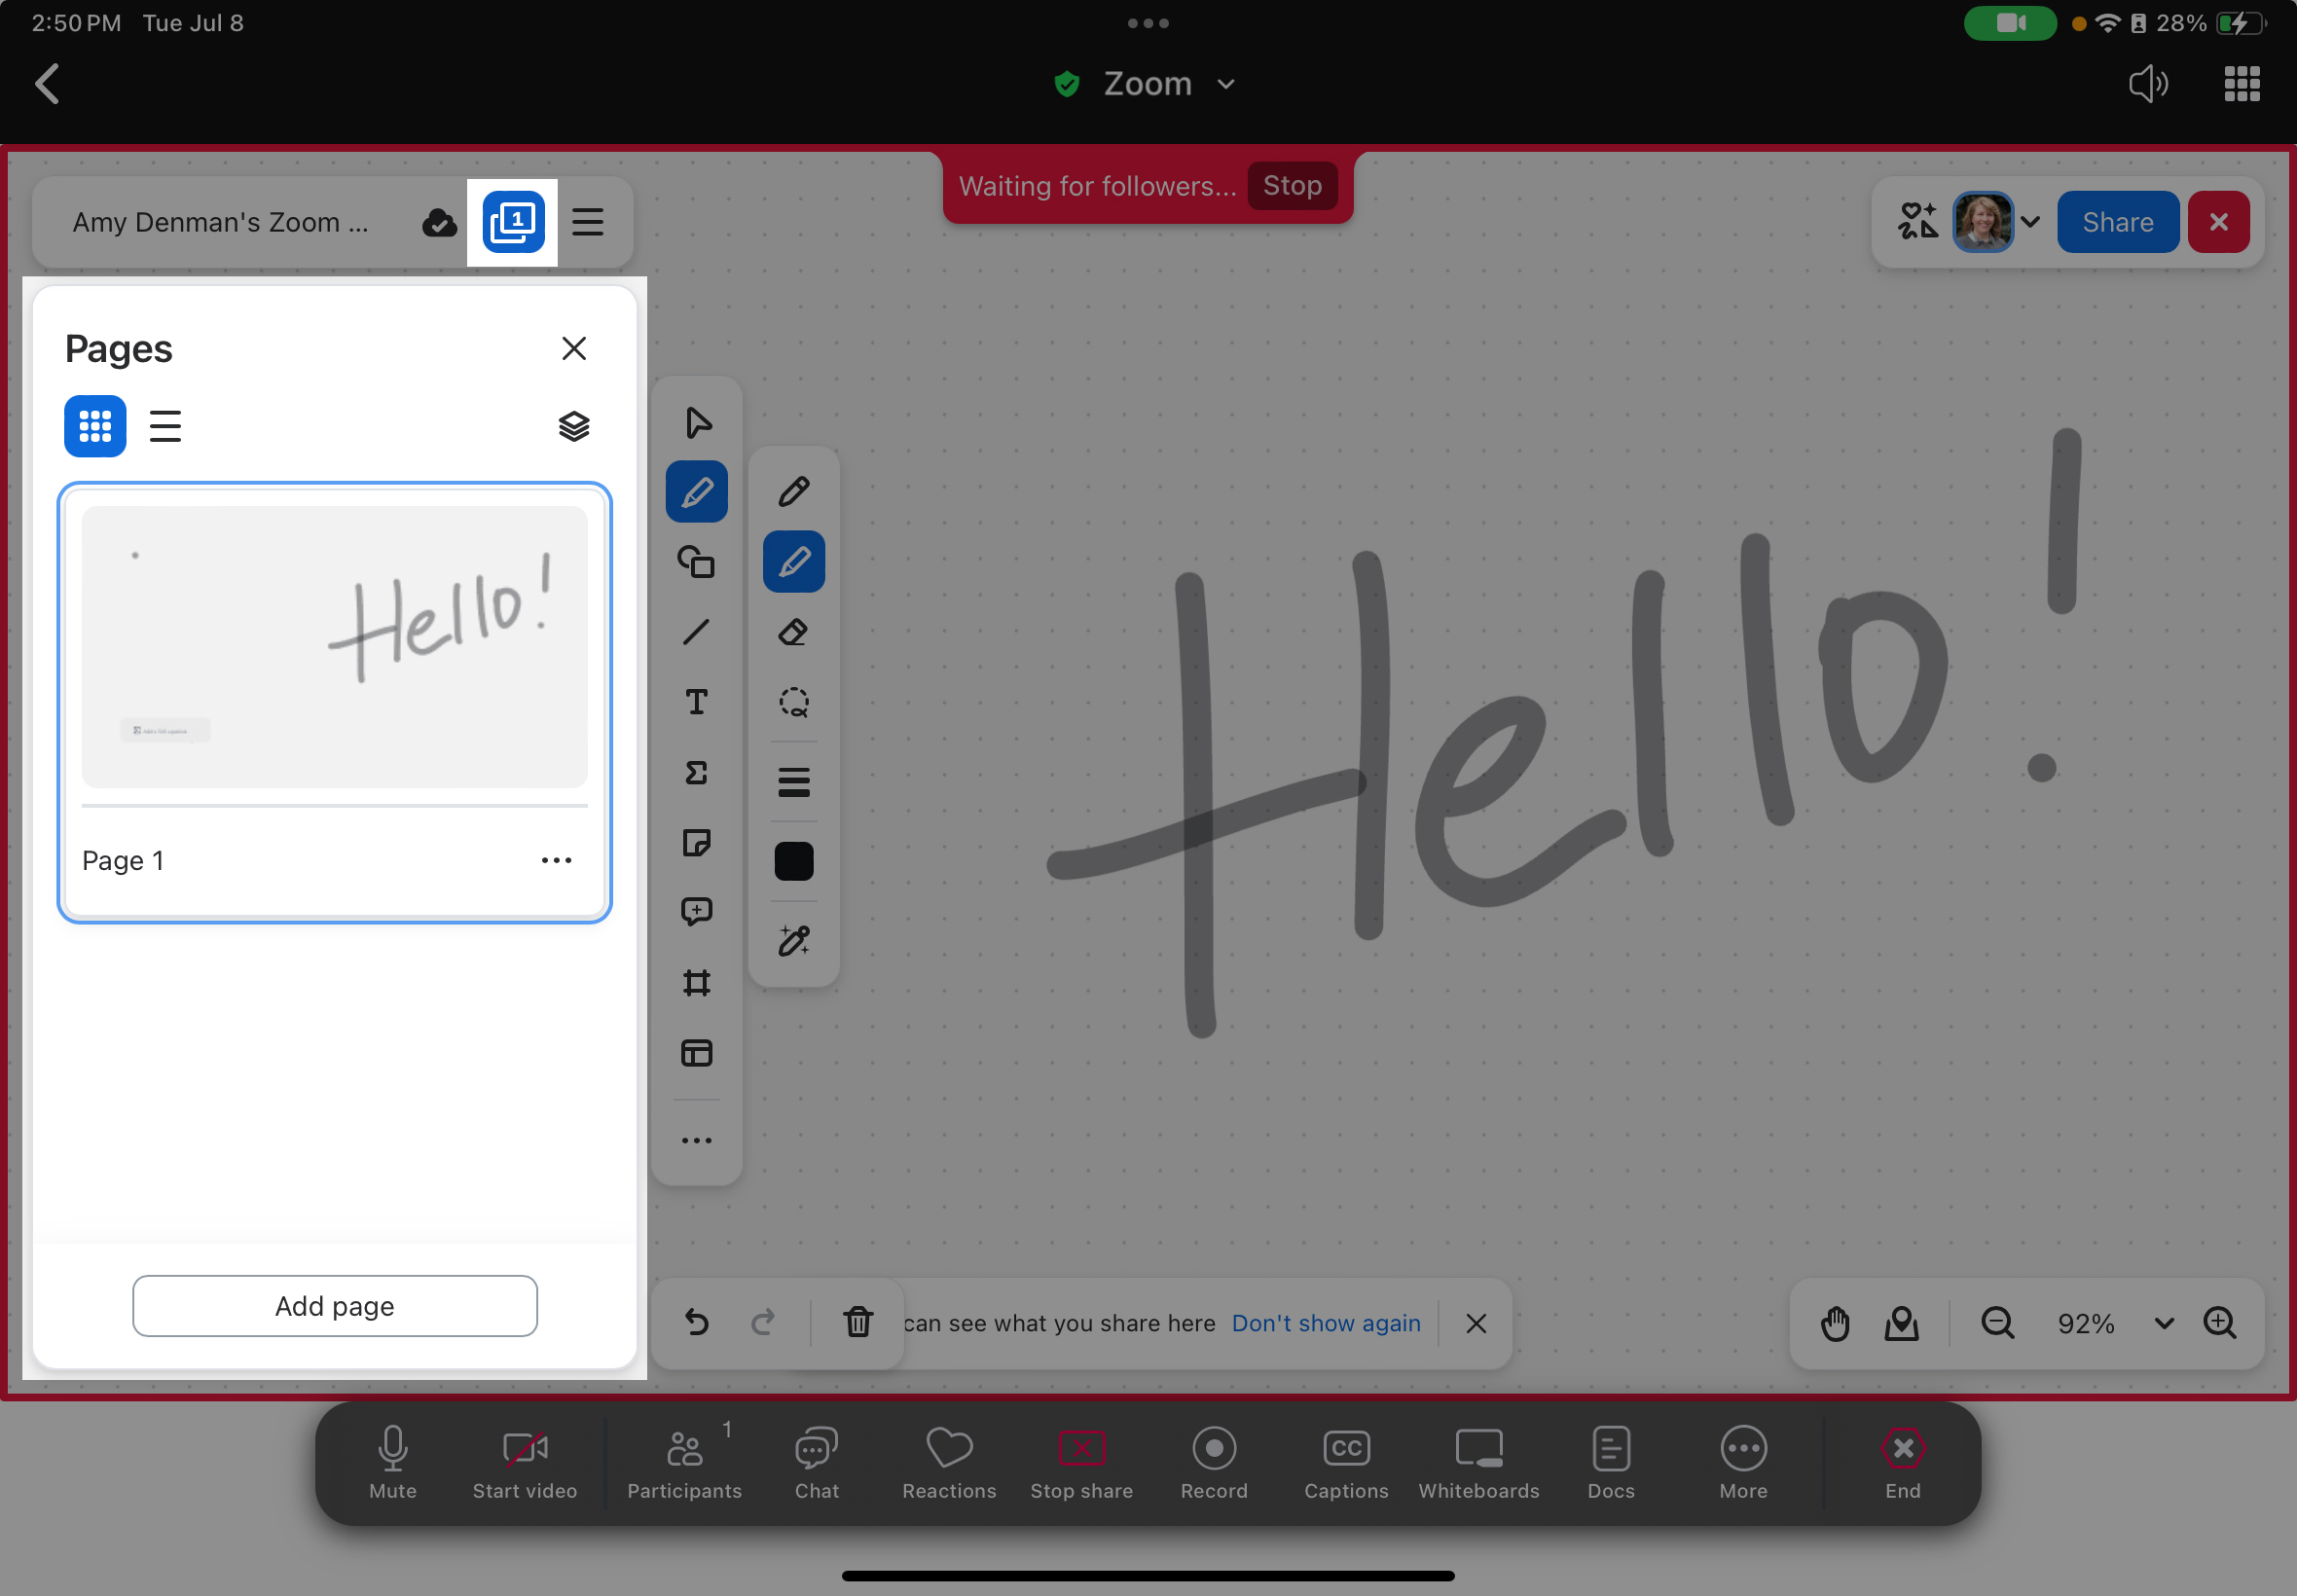
- Select a page you want to manage.
- Click the Ellipsis icon to perform the following actions:
- Rename the page: Enter a display name for the page.
- Copy: Create a duplicate of the selected page that you can paste later.
- Paste: Paste a previously copied or cut page to the whiteboard.
- Duplicate: Create a new page that is an exact copy of the selected page.
- Export: Export page as a PDF file, PNG image, and CSV file.
- Background color: Change the canvas background color for everyone on the whiteboard.
- Delete page contents: Remove all content on the selected page while keeping the page itself.
- Delete: Remove the selected page entirely from the whiteboard.
To change the sequence of your pages, click on a page and move it up or down by dragging it vertically.
TEXT TK
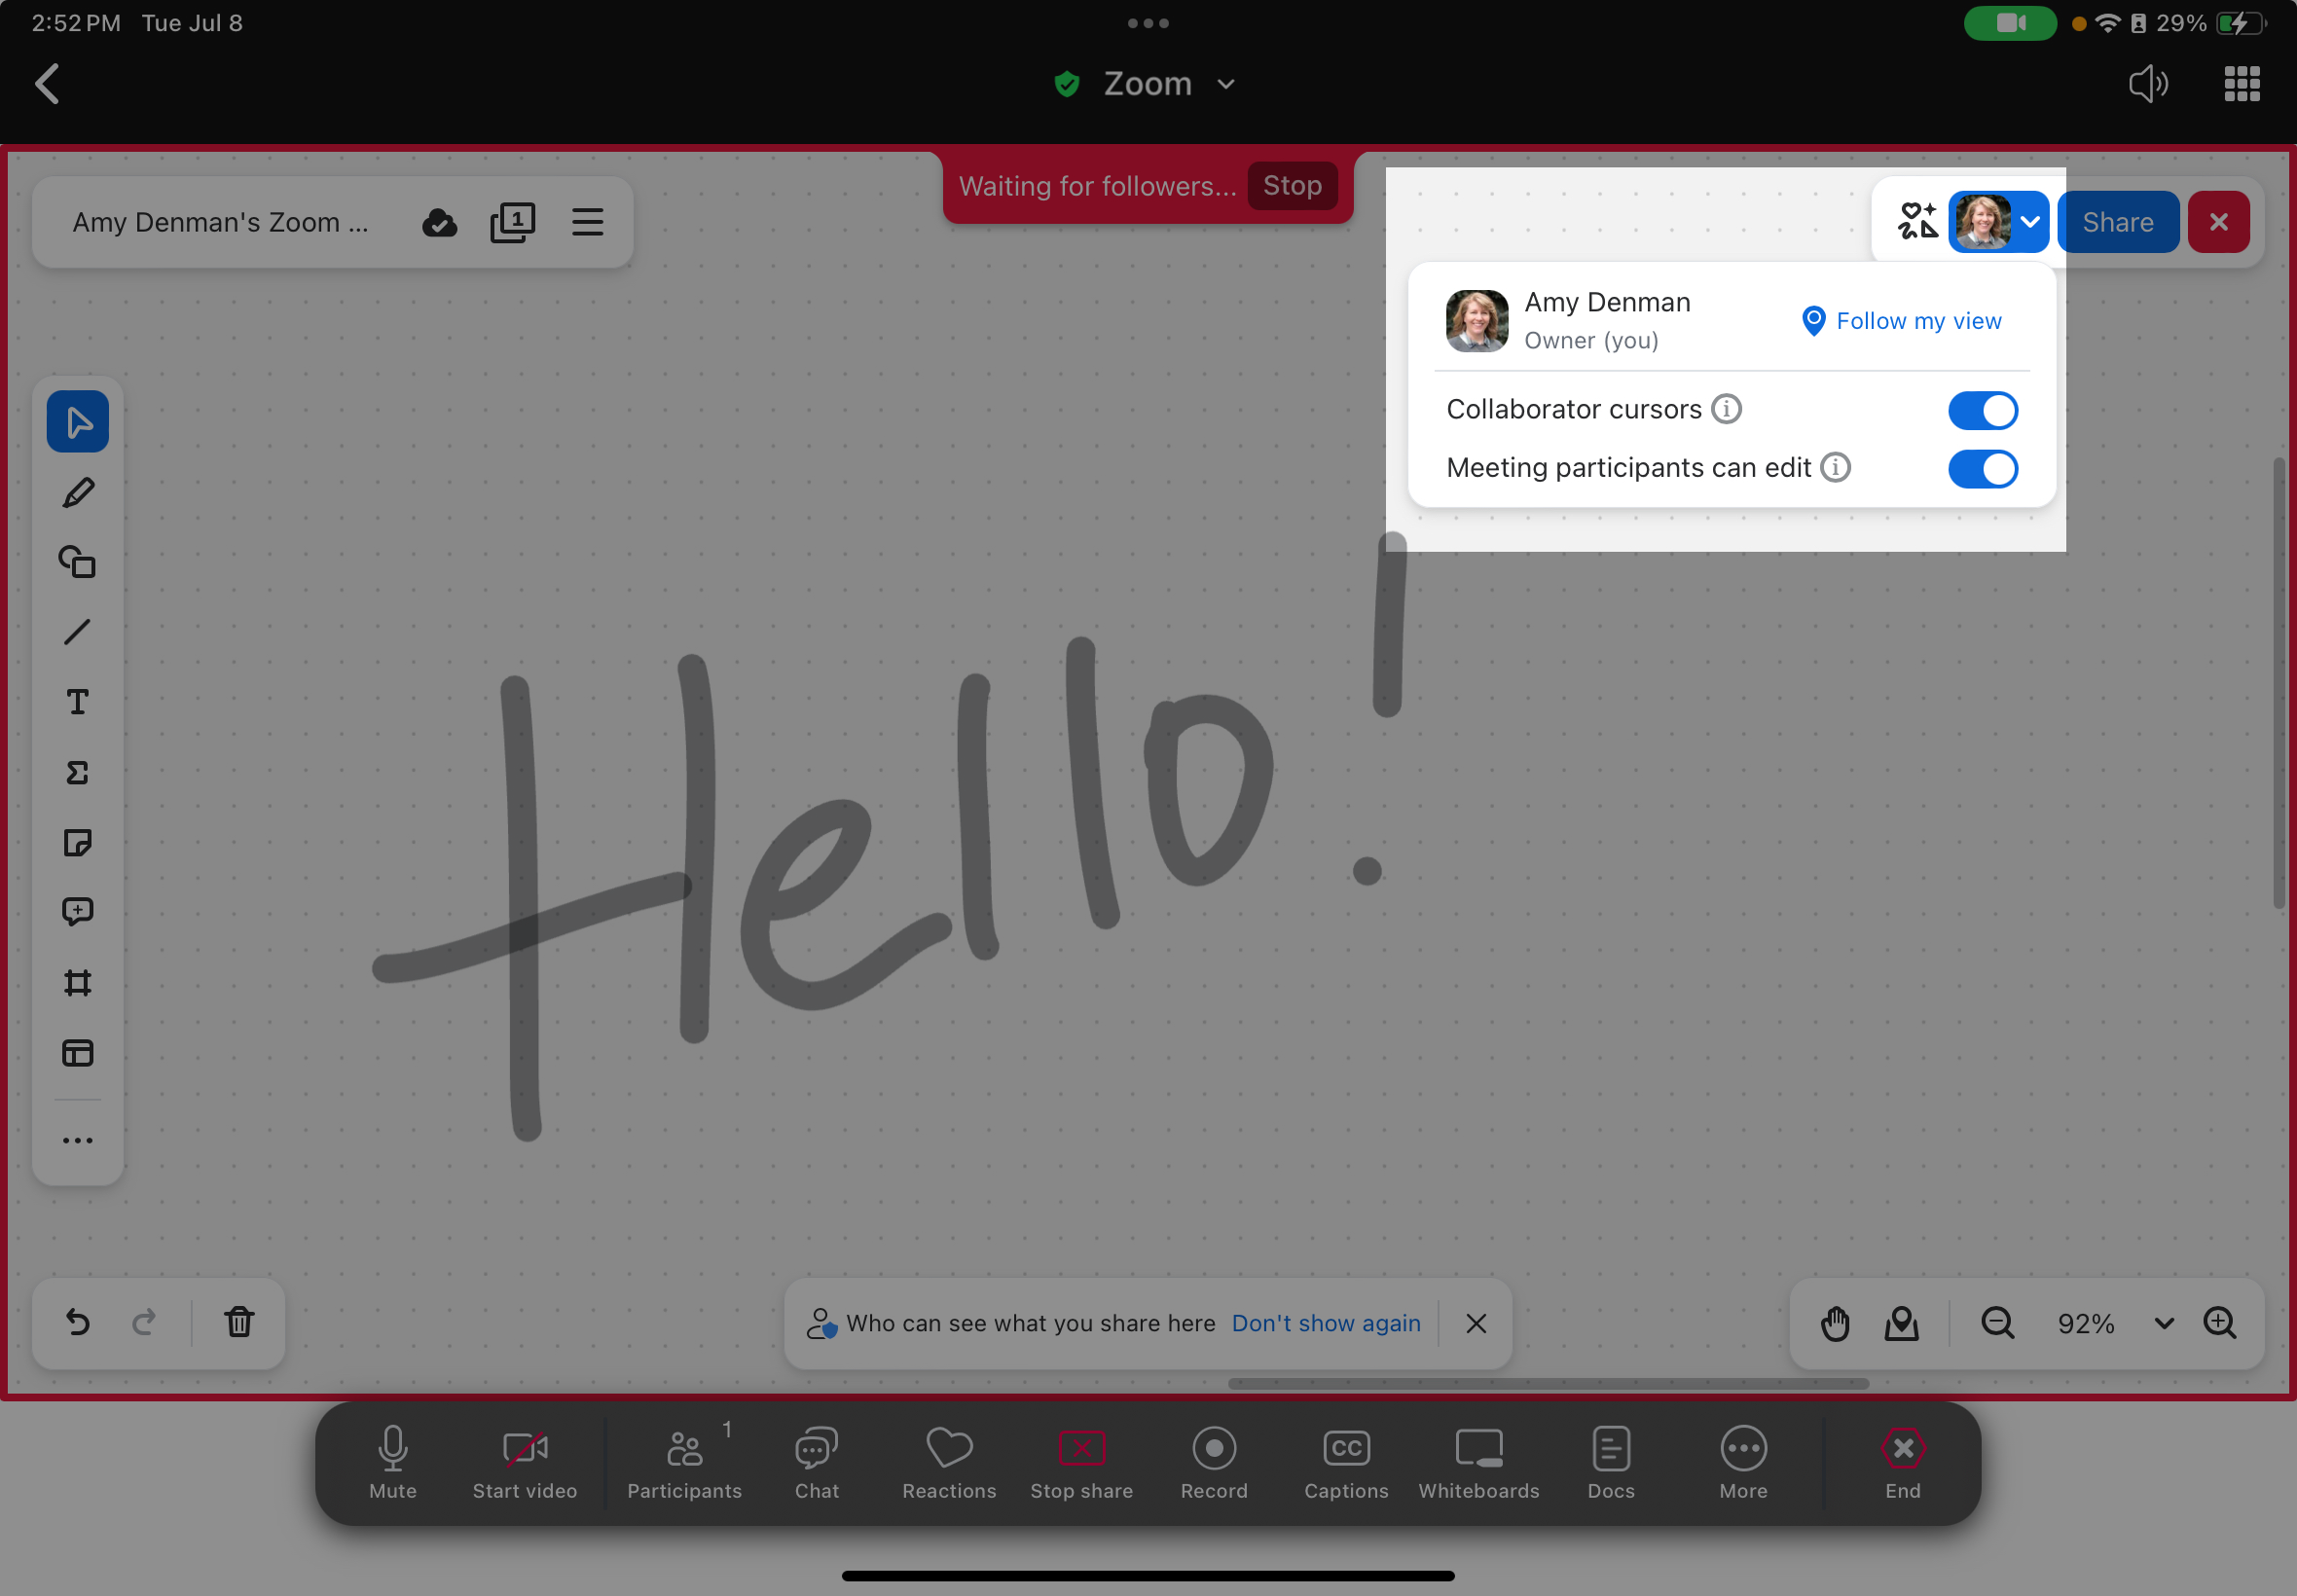
Click the Pull-down arrow next to your photo to manage the whole whiteboard.
- If collaborator’s cursors are too distracting moving around the whiteboard, turn them off by clicking the Toggle.
- If you don’t want your collaborators to edit the whiteboard, turn this option off.