Alas, our previous Acrobat installs are no longer valid, and Acrobat Pro will need to be installed. The Adobe Creative Cloud client will install along with the Acrobat—see our instructions below.
Problems?
Please contact Campus IT for assistance: 509-358-7748
Uninstall Adobe Acrobat
MacOS
Windows
MacOS
- Close Adobe Acrobat completely.
- Open the Finder, navigate to the Applications folder, right-click (or + click) on Adobe, and choose Move to trash.
- Restart your computer.
Windows
- Close Adobe Acrobat completely.
- In Cortana/Start menu search, type Control Panel, then open it.
- Go to Programs > Uninstall a program.
- Find Adobe Acrobat, click it, then click Uninstall at the top of the window
- IMPORTANT: Restart Windows when uninstall completes, even if you aren’t prompted to, then proceed with the Re-Install Adobe Acrobat steps below.
Re-install Adobe Acrobat
- Go to https://creativecloud.adobe.com.
- Sign in with your WSU email address, then authenticate with Okta.
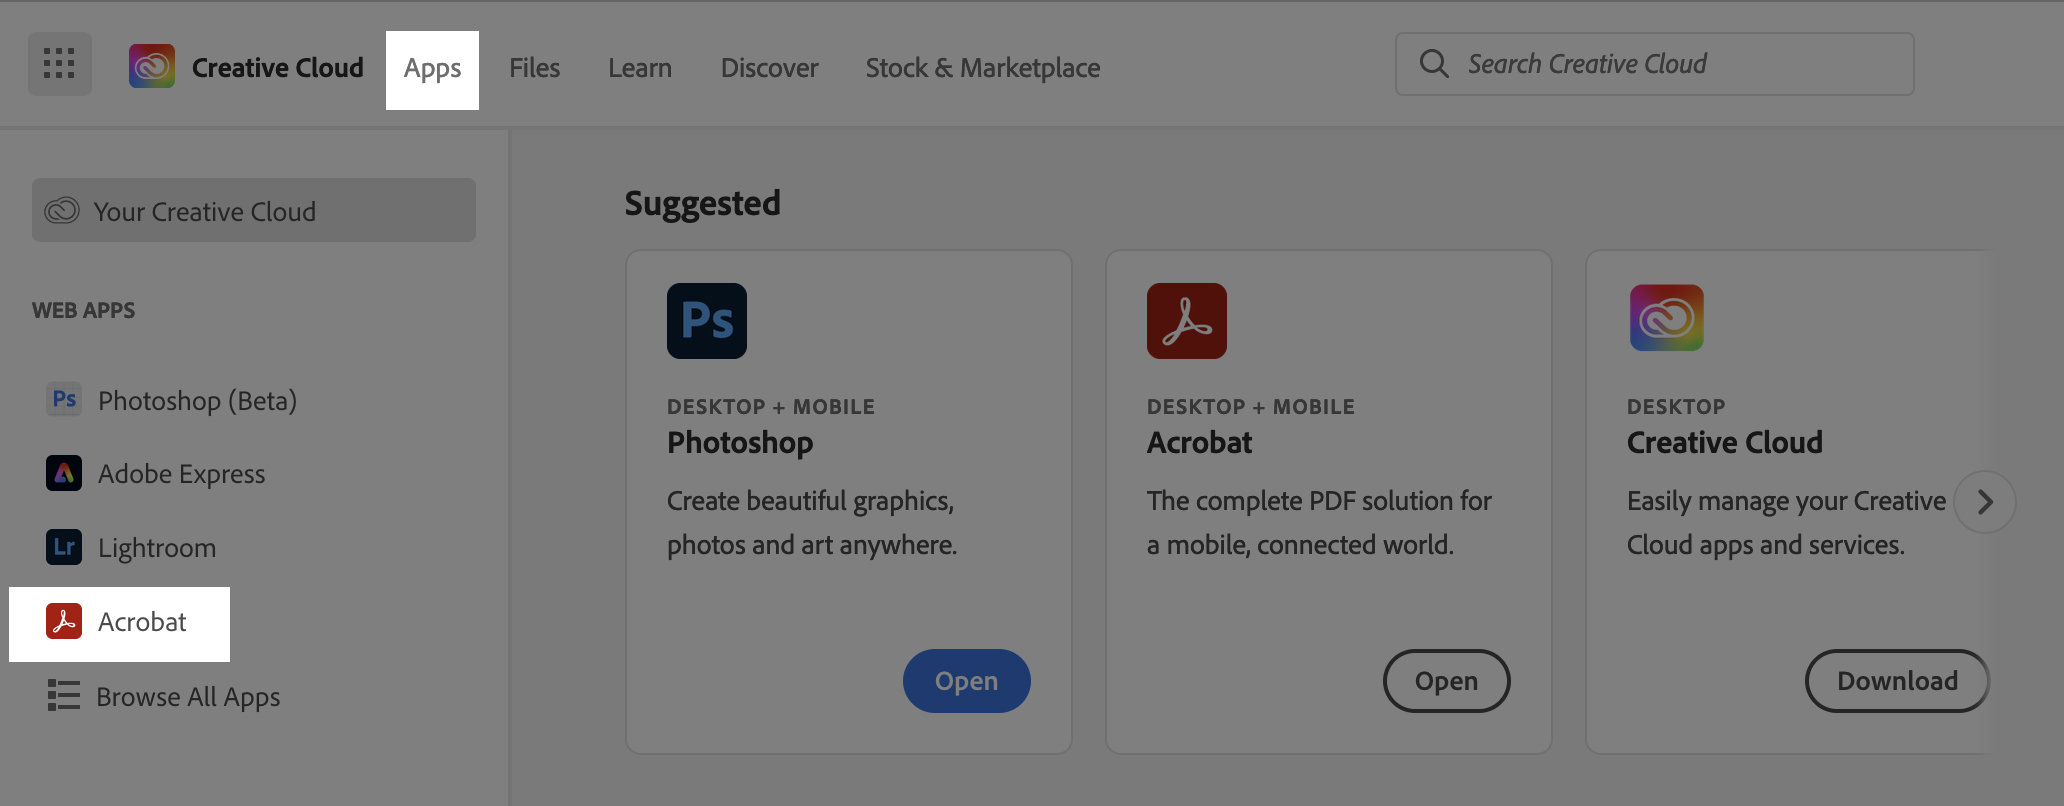
- Click Apps in the upper left corner.
- Look for Acrobat in the list of apps.
- Click Download, then launch the file (it will be in your Downloads folder) and click Yes when prompted.
- Follow any remaining prompts (Acrobat may prompt for a second authentication when activating).


 by the Office of Technology